Fall Wreath DIY ~ How to Make It Simple and Beautiful
Hi Everyone – and Welcome to the Fall Wreath DIY! I’m so happy to be joining the “There’s No Place Like Home” Autumn Blog Hop again this week. Rachelle at My Hubbard Home is such a wonderful host!
Whether you’re joining us from Rachelle’s beautiful project, or from anywhere else, Welcome!
Be sure to go all the way to the bottom for the next great craft on the hop, and to see a photo of everyone’s projects!
The Fall Wreath DIY
This was probably the easiest wreath I’ve ever done – and that’s covering a lot of ground!
It only takes six items. And here they are all laid out. (Not counting the flower arrangement, of course!)
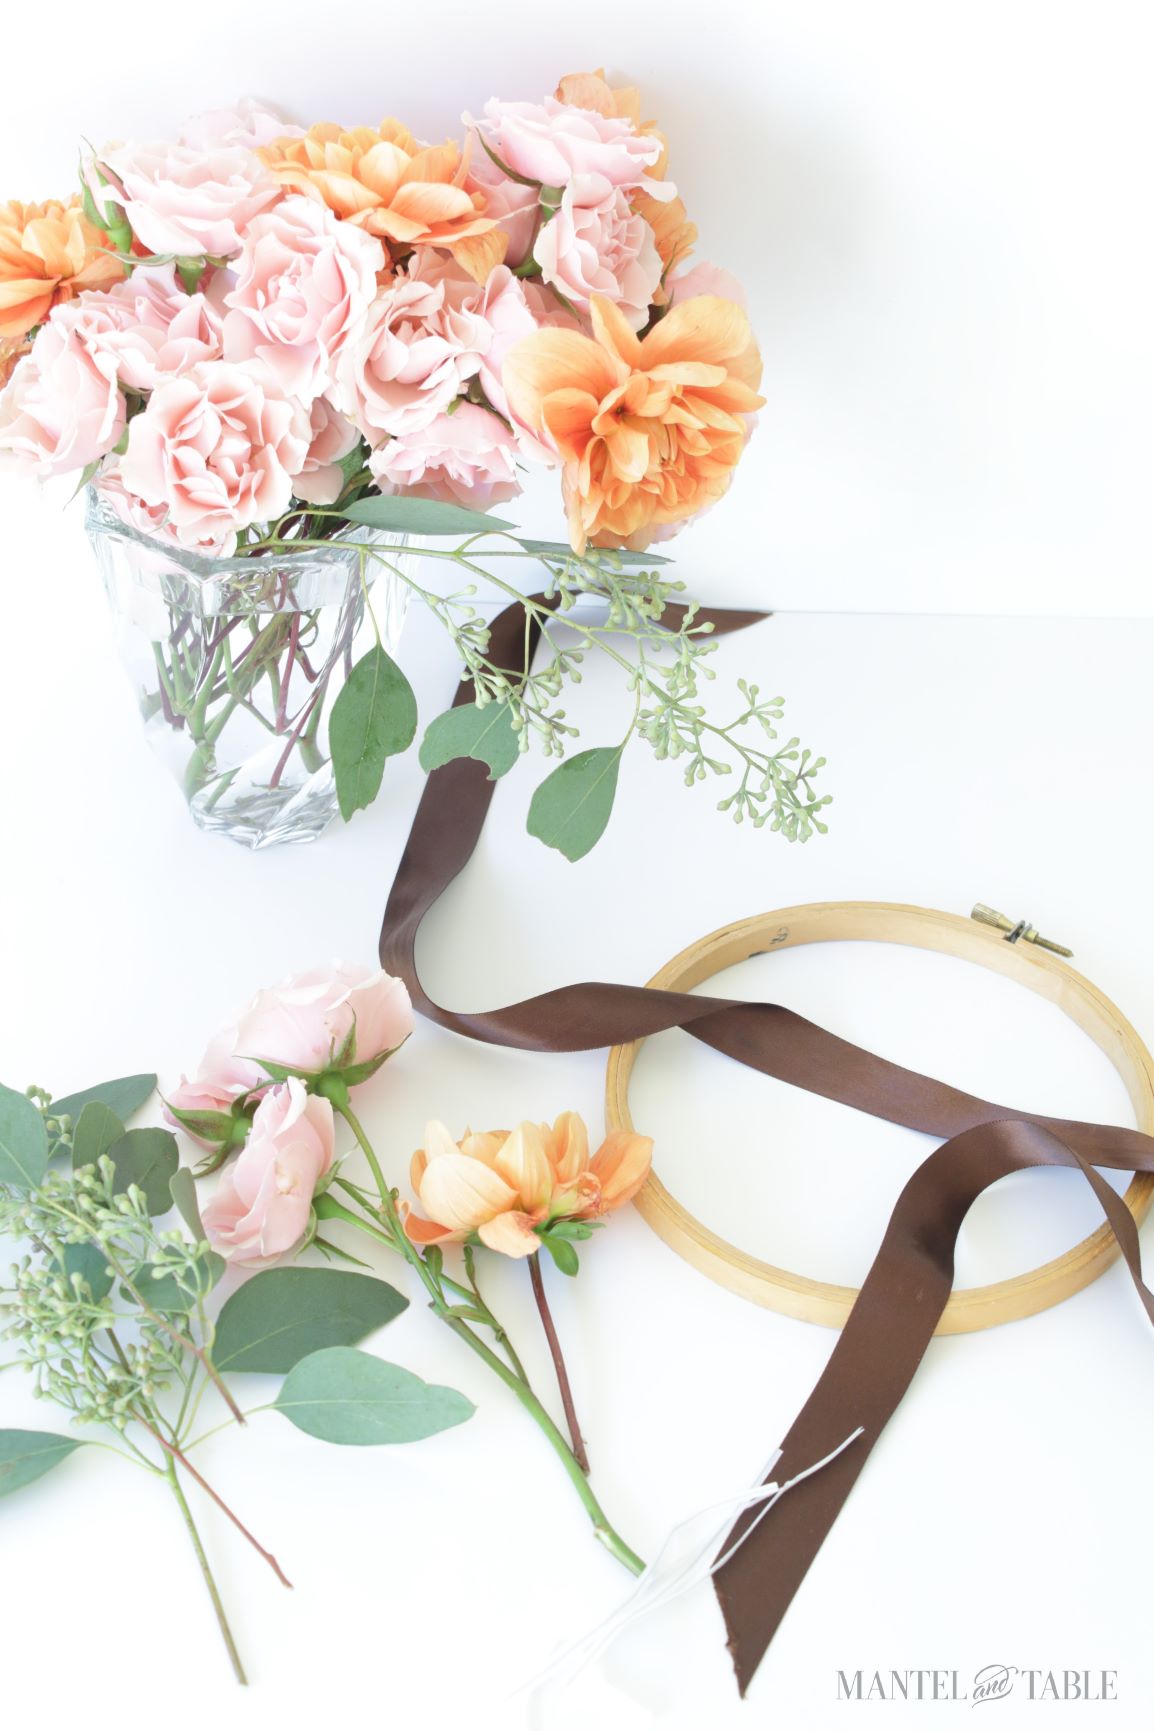
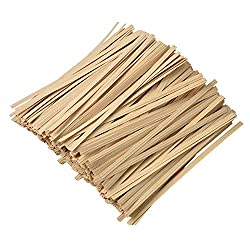
A few sprigs of seeded eucalyptus, a few flowers, another flower, a satin ribbon, twist ties, and a hoop. That’s all it takes for our little fall wreath DIY.
Embroidery Hoop Frame
The thing I think is so cute about this wreath is that it’s so tiny. That’s because I used a six inch diameter embroidery hoop.
You start the fall wreath DIY by laying the hoop on the table and slipping a twist tie under it.
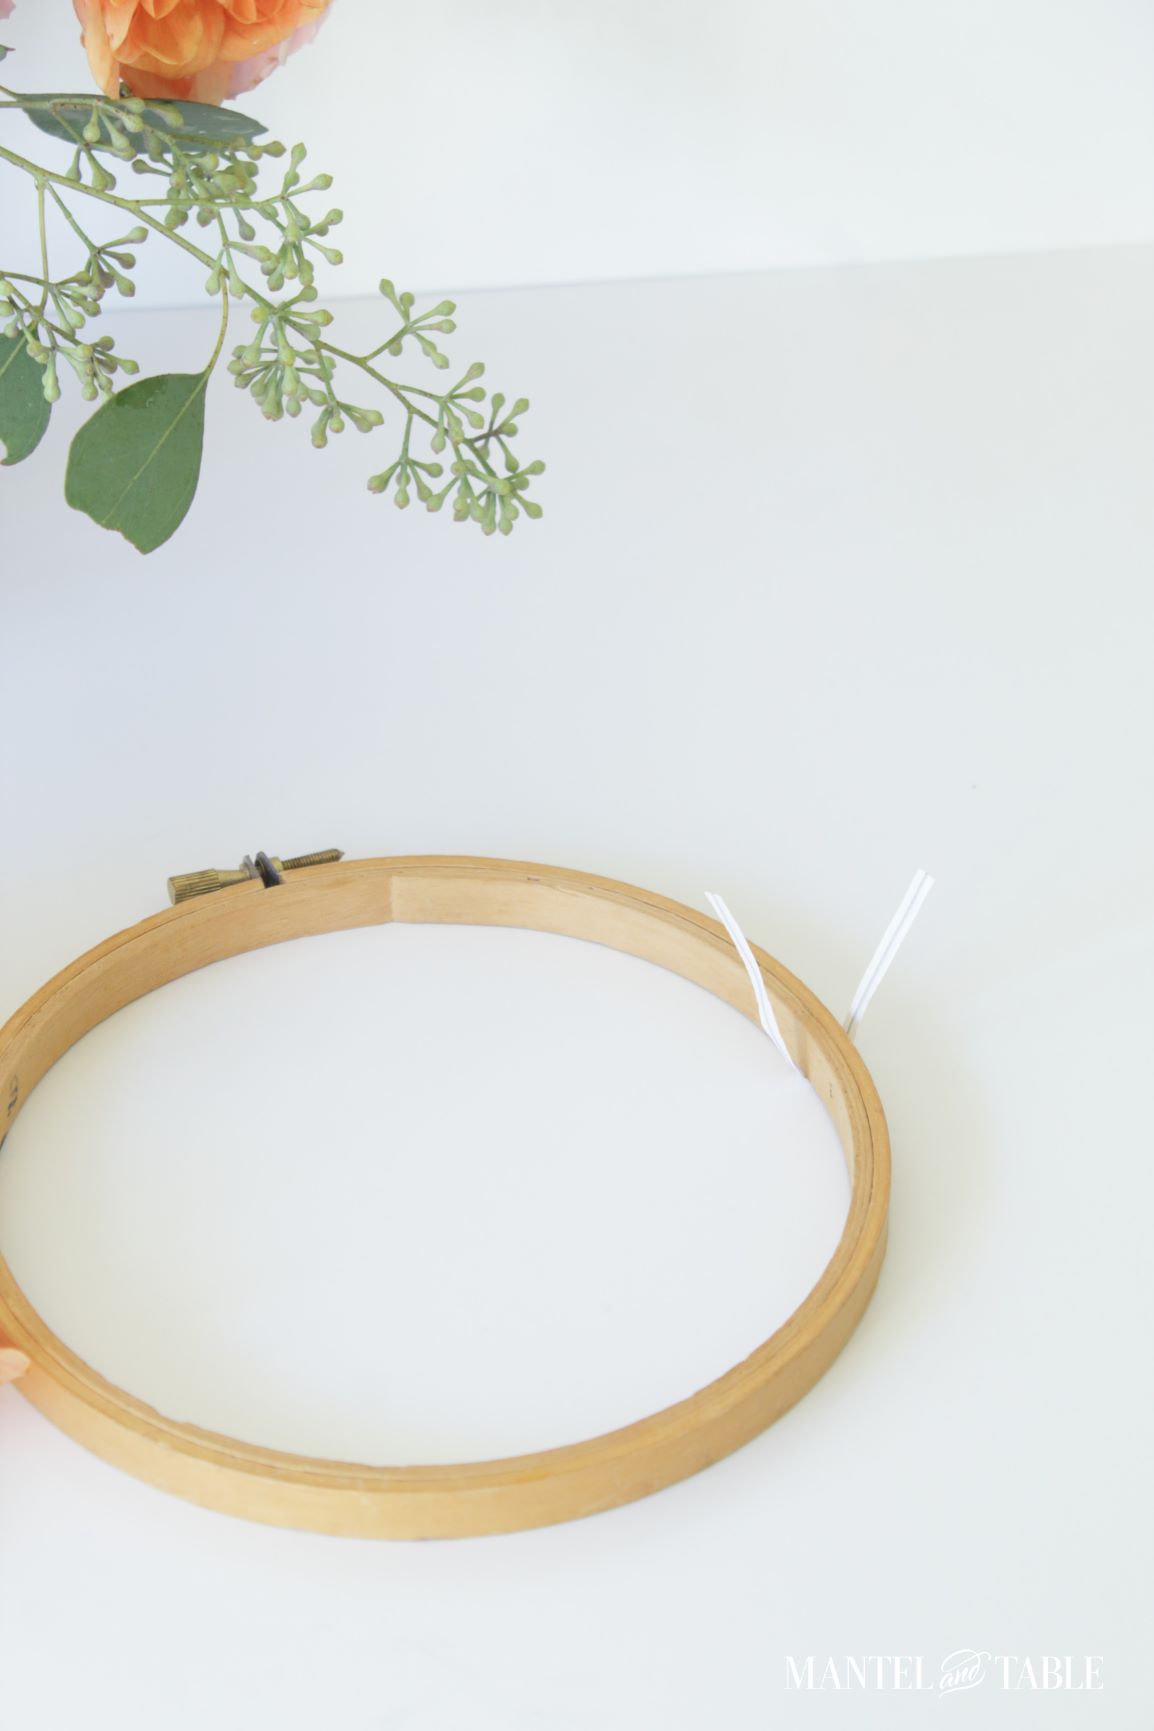
Pull up the ends into a V, and now you have a little cradle for the flowers and greenery.
Start with the Fluffy Top
I actually used fresh flowers for this fall wreath DIY, but faux would probably be better if you want it to last.
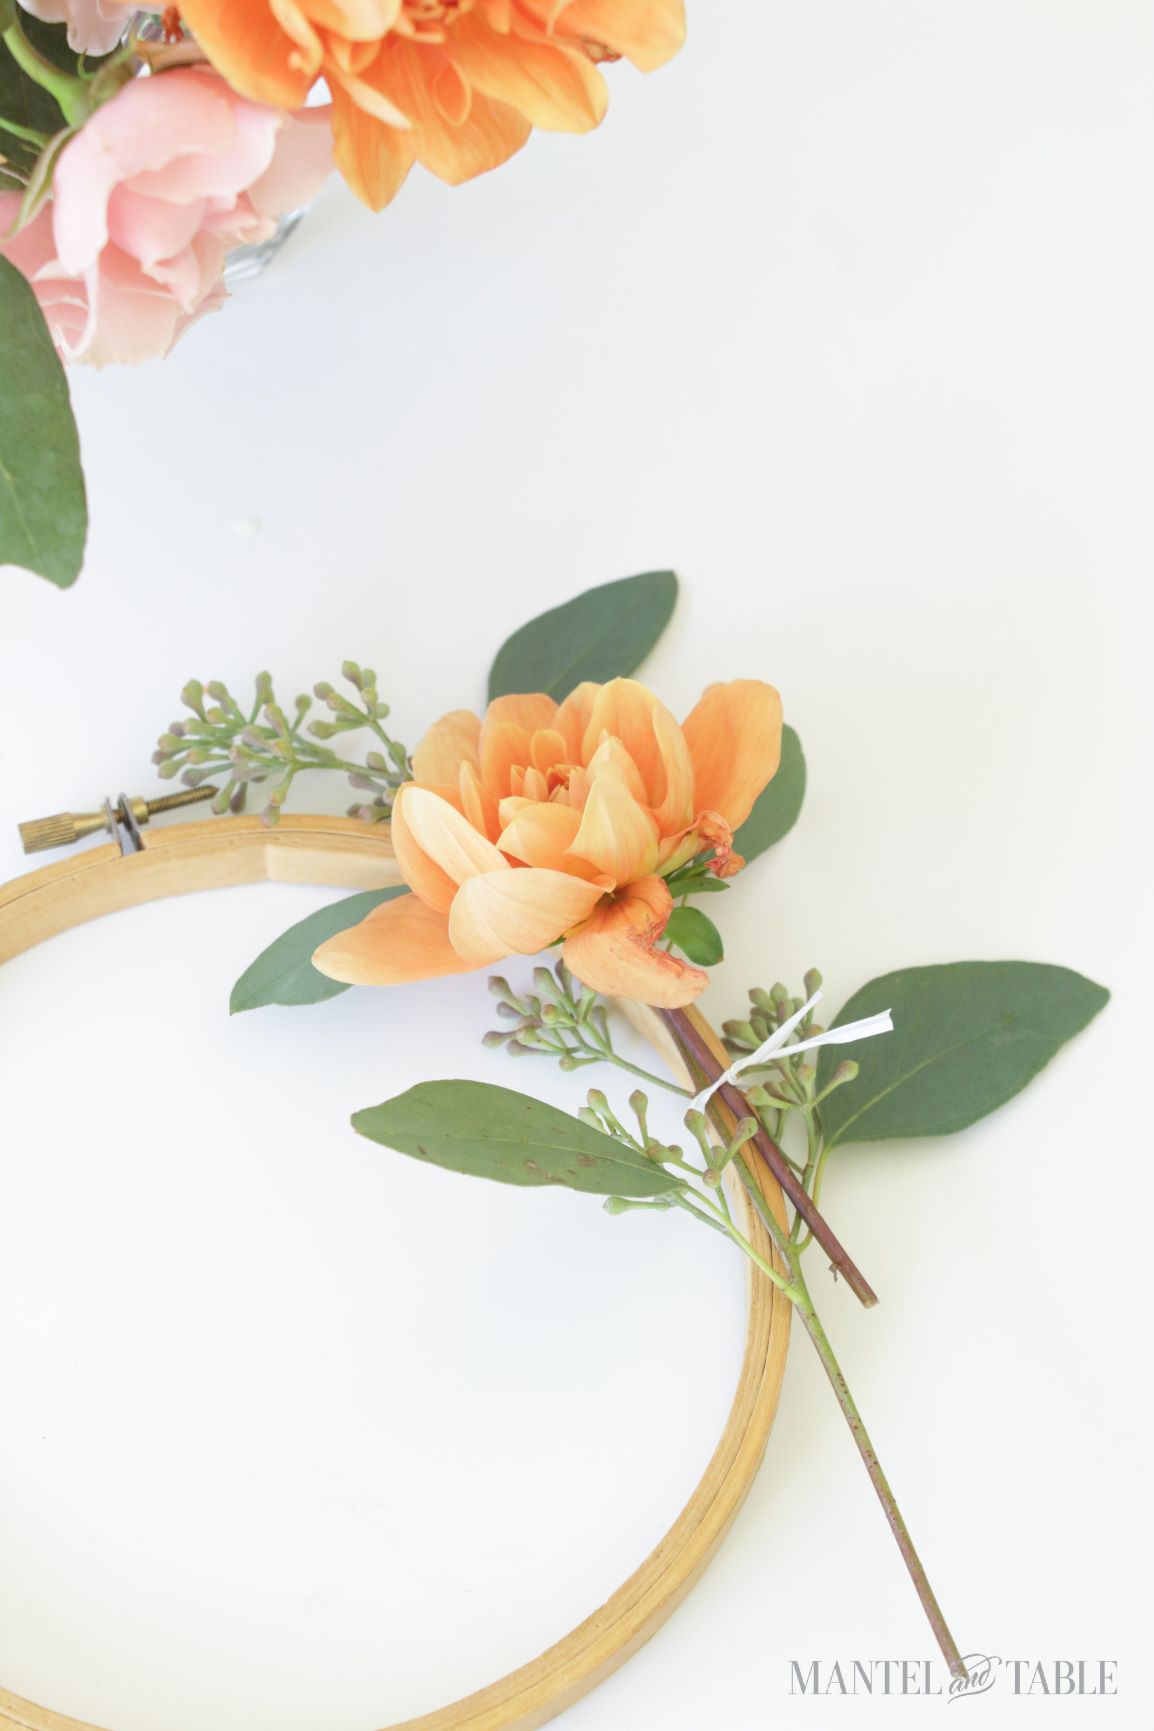
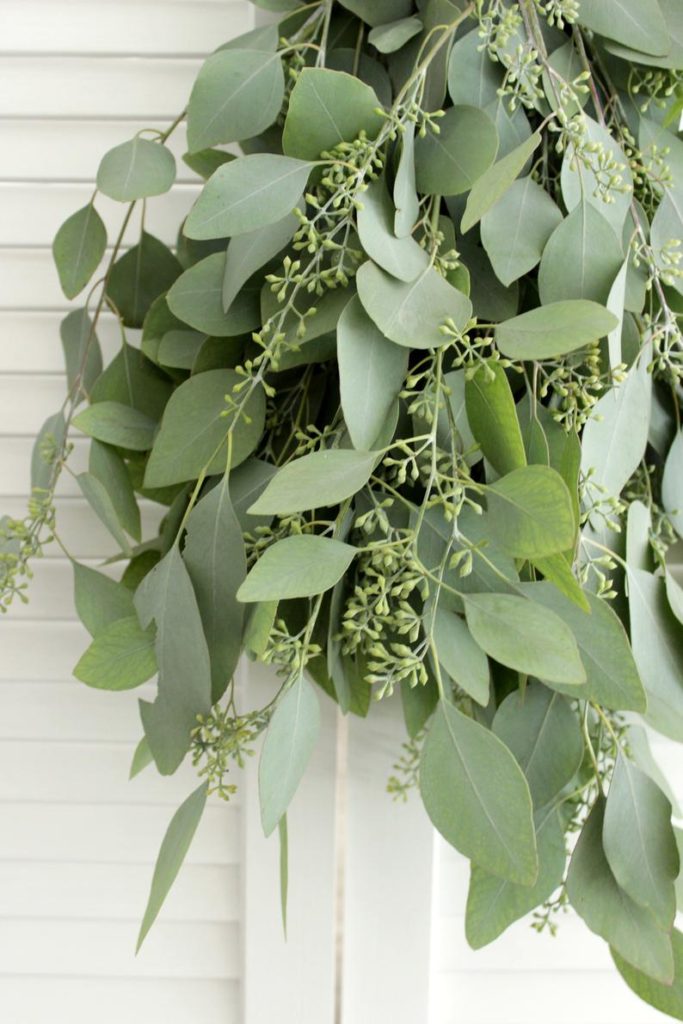
Lay your first seeded eucalyptus sprig on whichever side you want – I chose the right. I put it so the seeds just barely overhang the hoop screw.
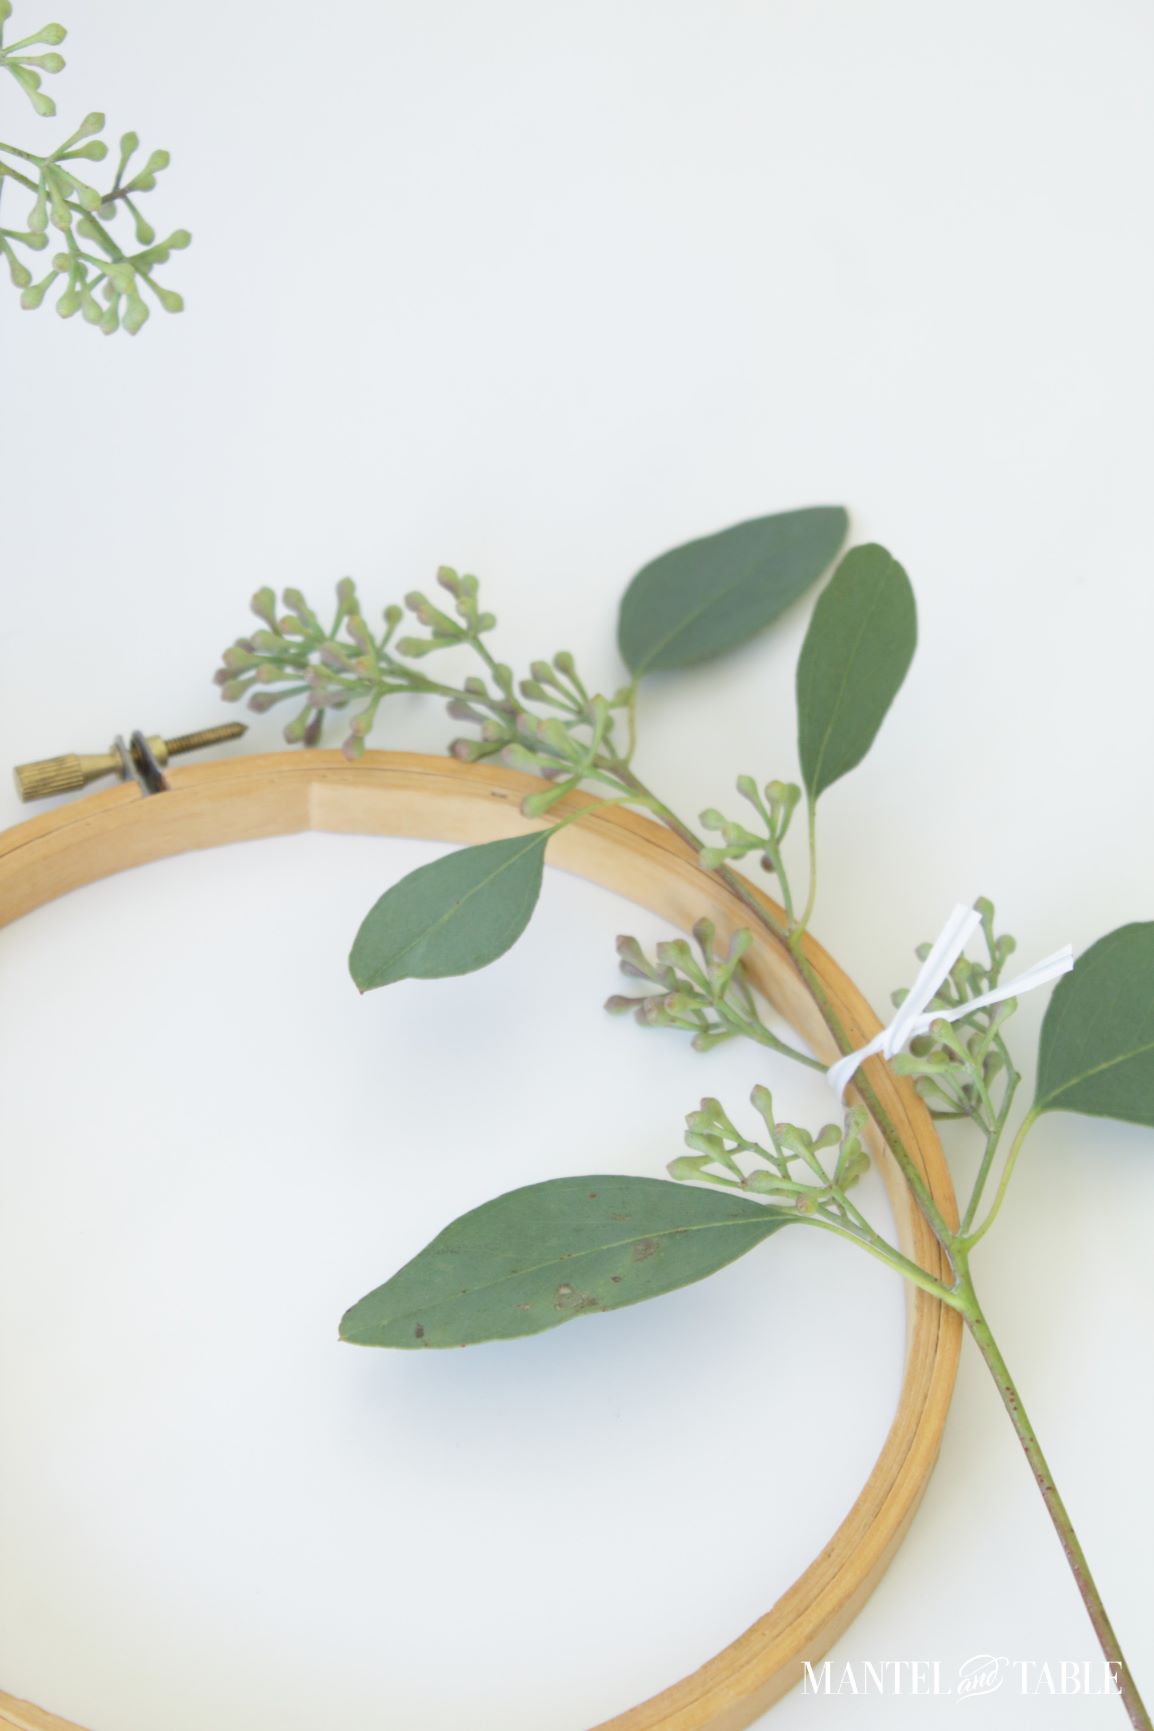
Then wrap the twist tie loosely around the stem. It’s ok if it sticks out at this point.
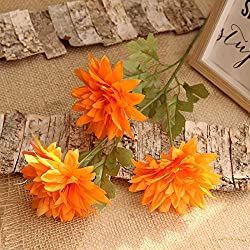
Next on the Fall Wreath DIY – Flowers!
Then take your one bigger flower, and slip the stem into the twist tie. You want the bloom to be at about the 2:00 position.
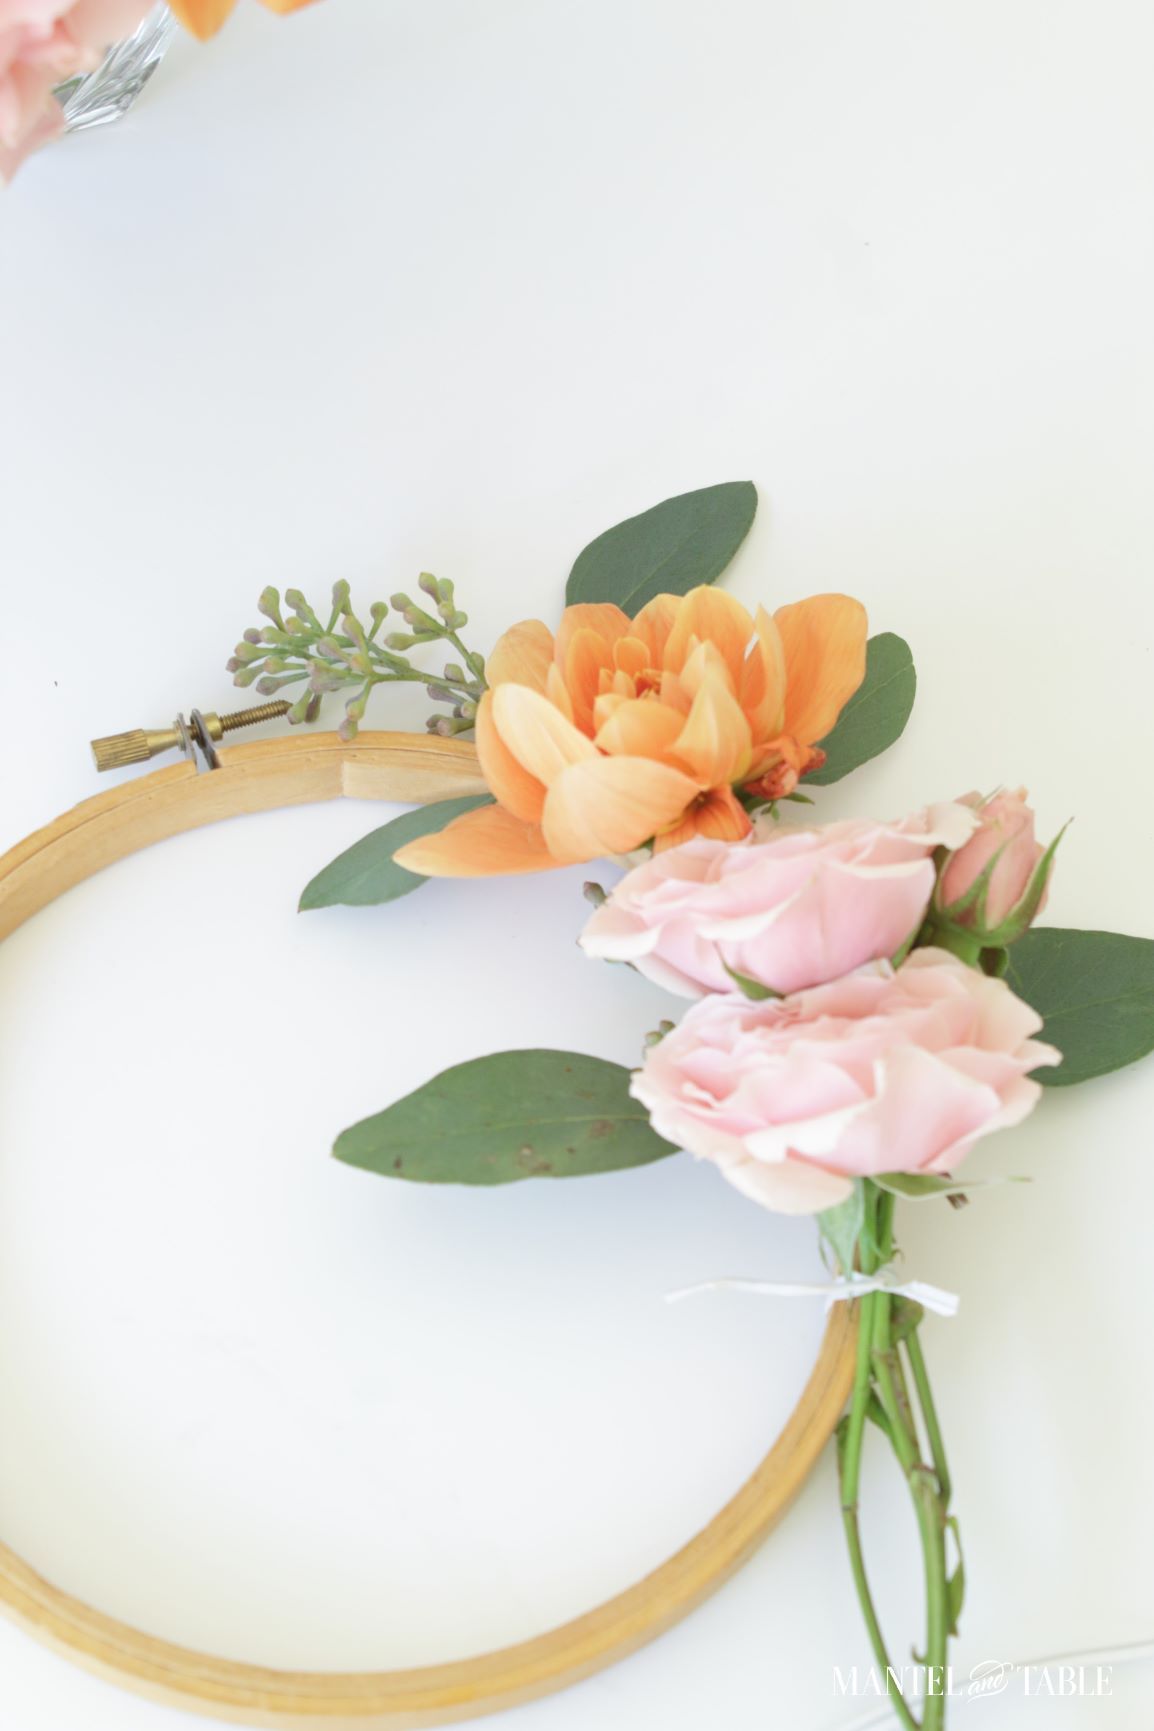
I originally tried laying all the flowers and greenery in at once and then twisting. But they were too flippy and floppy, even being so small. Slipping worked better than laying!
Then either slip the three matching flowers in, or if the slipping space is already full, lay them on top. You can wrap the excess twist tie around them, which is what I did.
The Seeded Eucalyptus Tail
I’m sure you can guess what comes next in our fall wreath DIY. Slip the second eucalyptus stem into the twist tie from the bottom, and let the sprig hang gracefully.
And if you can’t get it to be graceful at this point, you can adjust it later when the bow has been tied.

Carefully trim off the excess stems, but be sure to leave enough so it stays in the twist tie. The bow will probably cover anything that might still be sticking out.
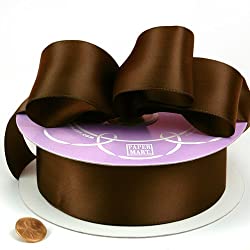
A Brown Satin Ribbon
I just love this brown satin ribbon. I’m pretty sure it came from a box of chocolates. Which, if you know me, is very appropriate! And it makes me smile whenever I see it!
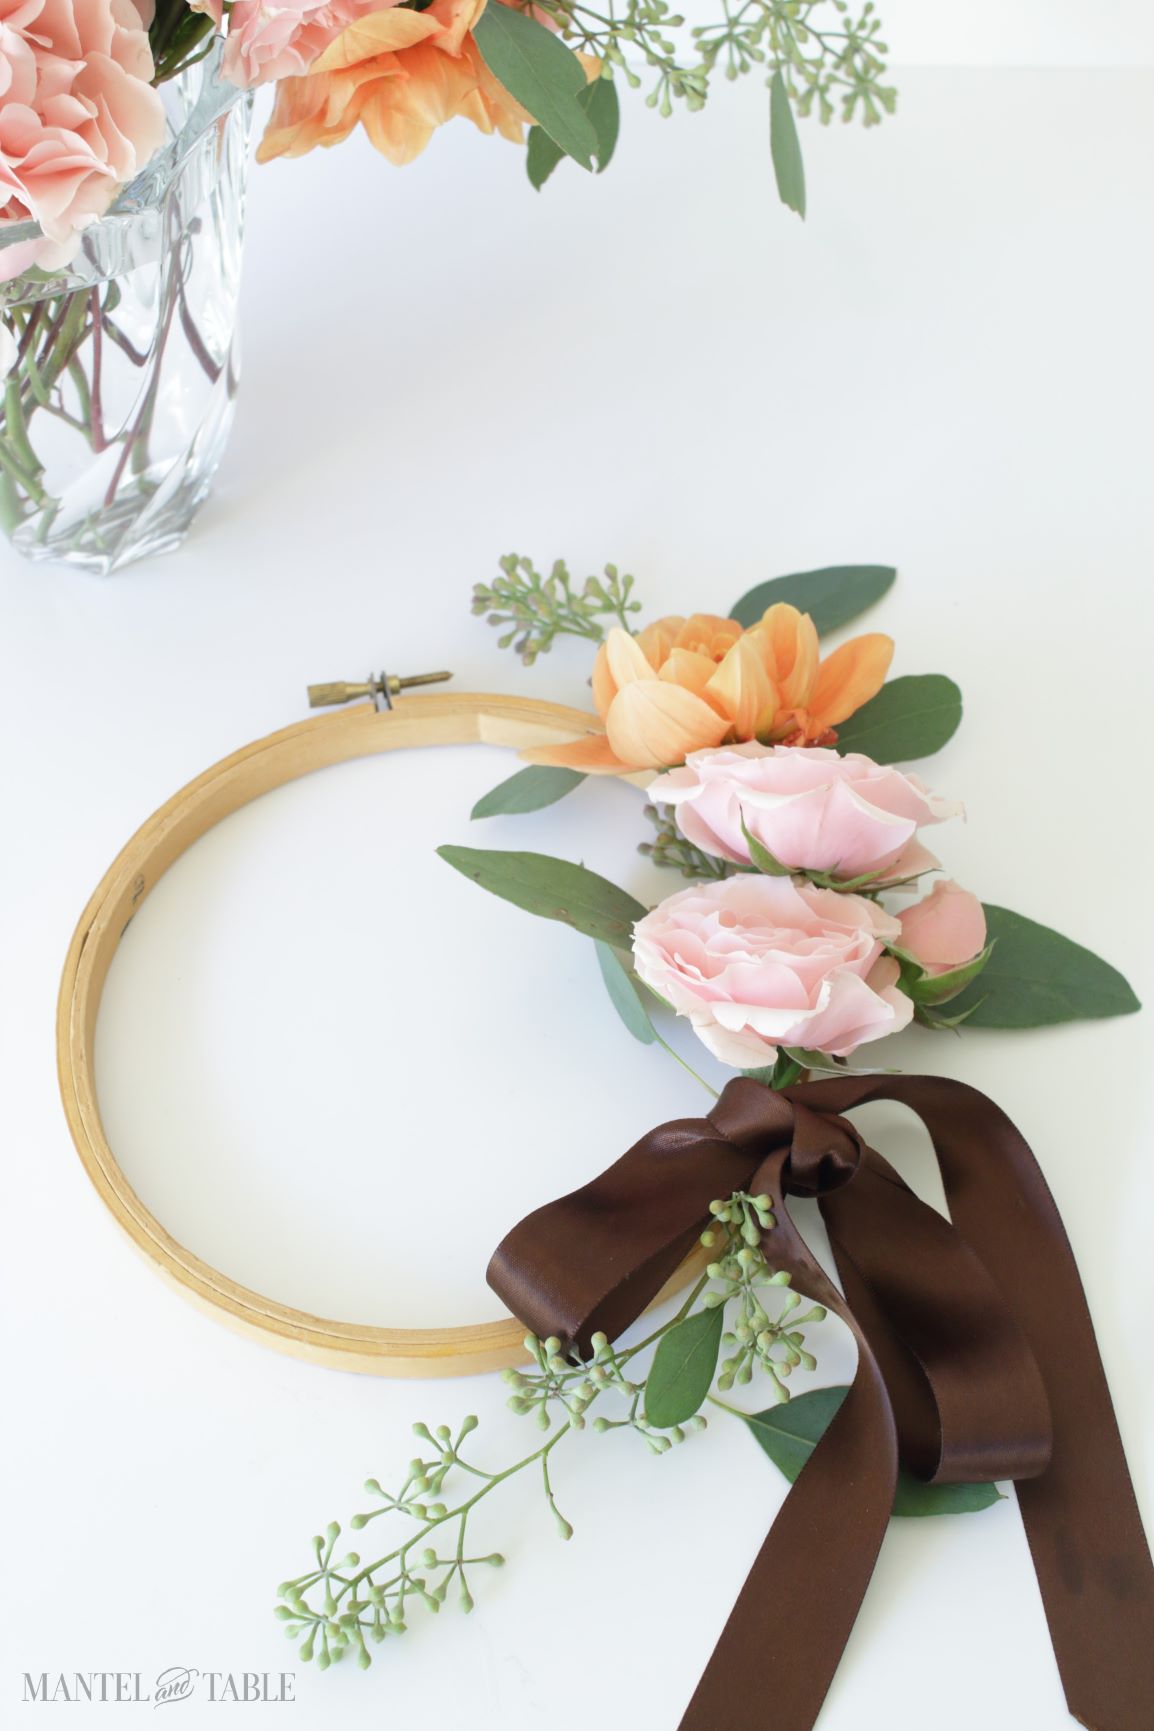
Tie the ribbon right below the bottom rose. If you want to do a fancy bow, by all means feel free. I wanted a very simple look this time, so I just did a regular old bow.
I just slipped one of the ends behind the hoop, and called it good!
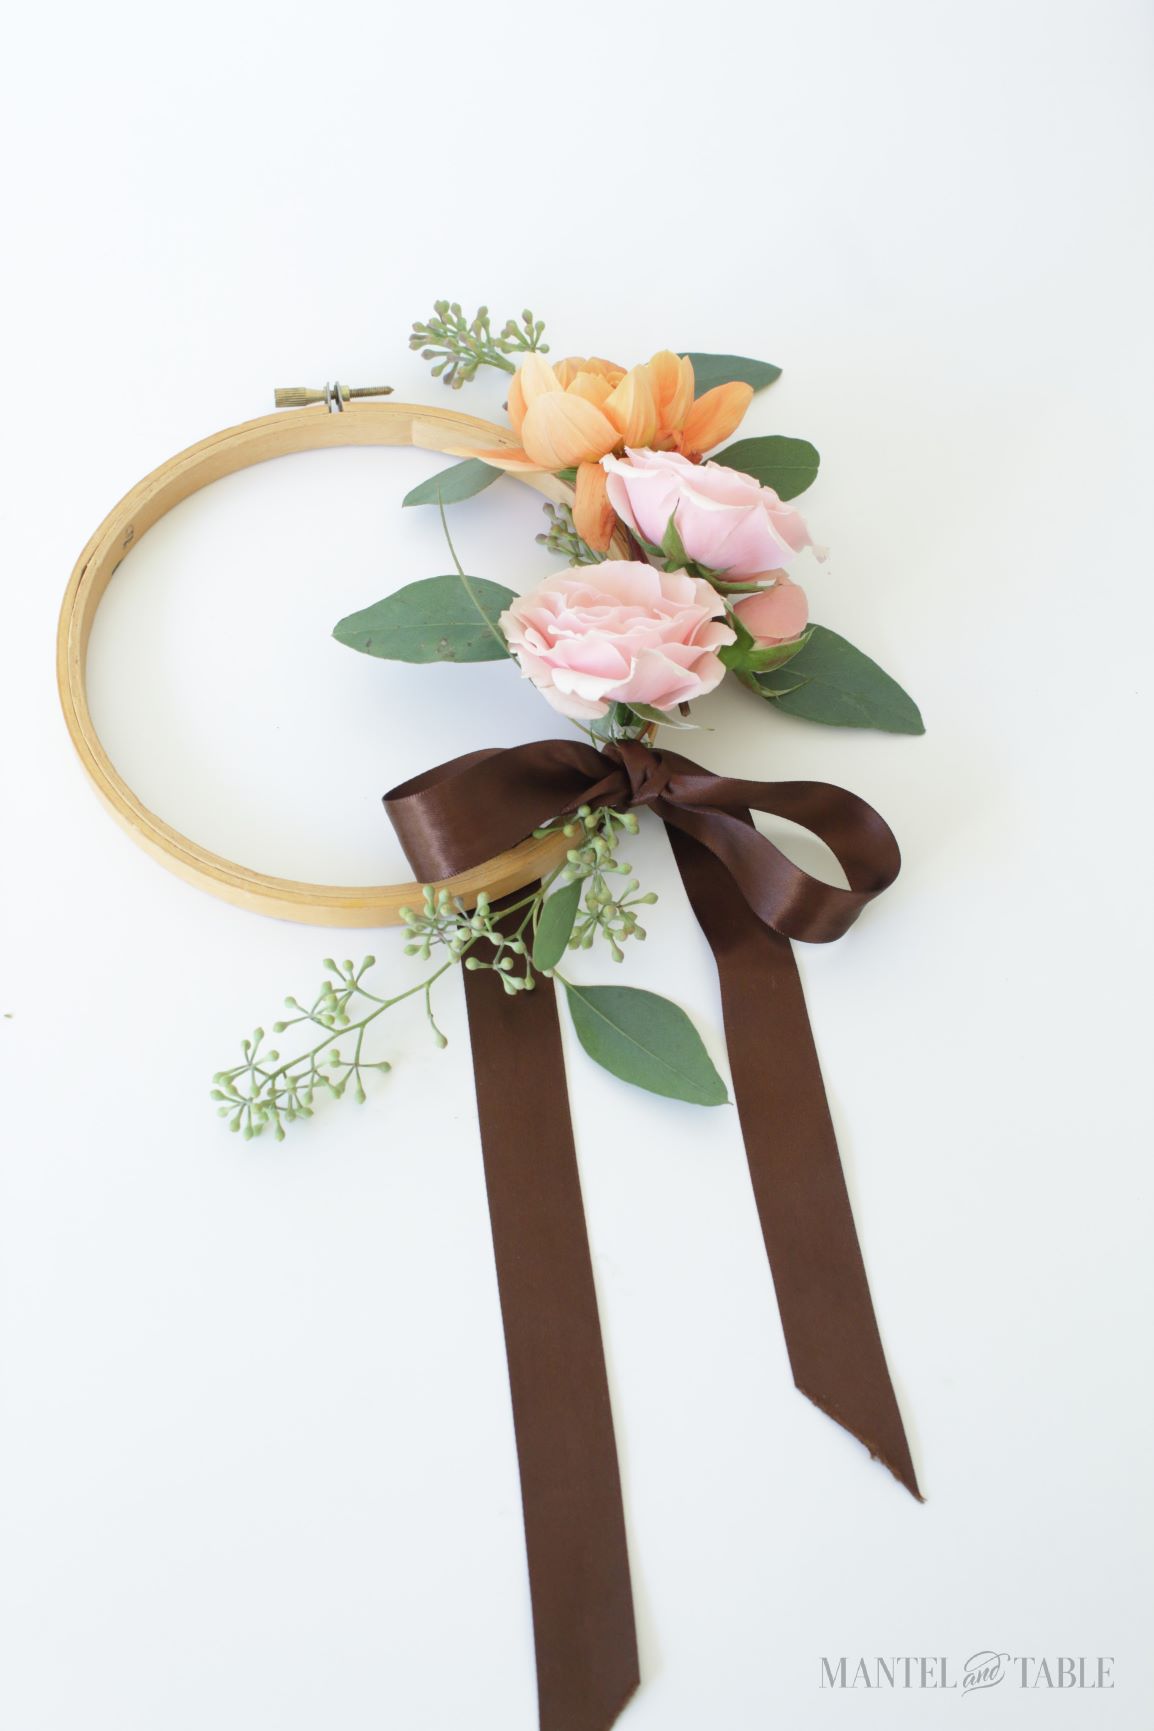
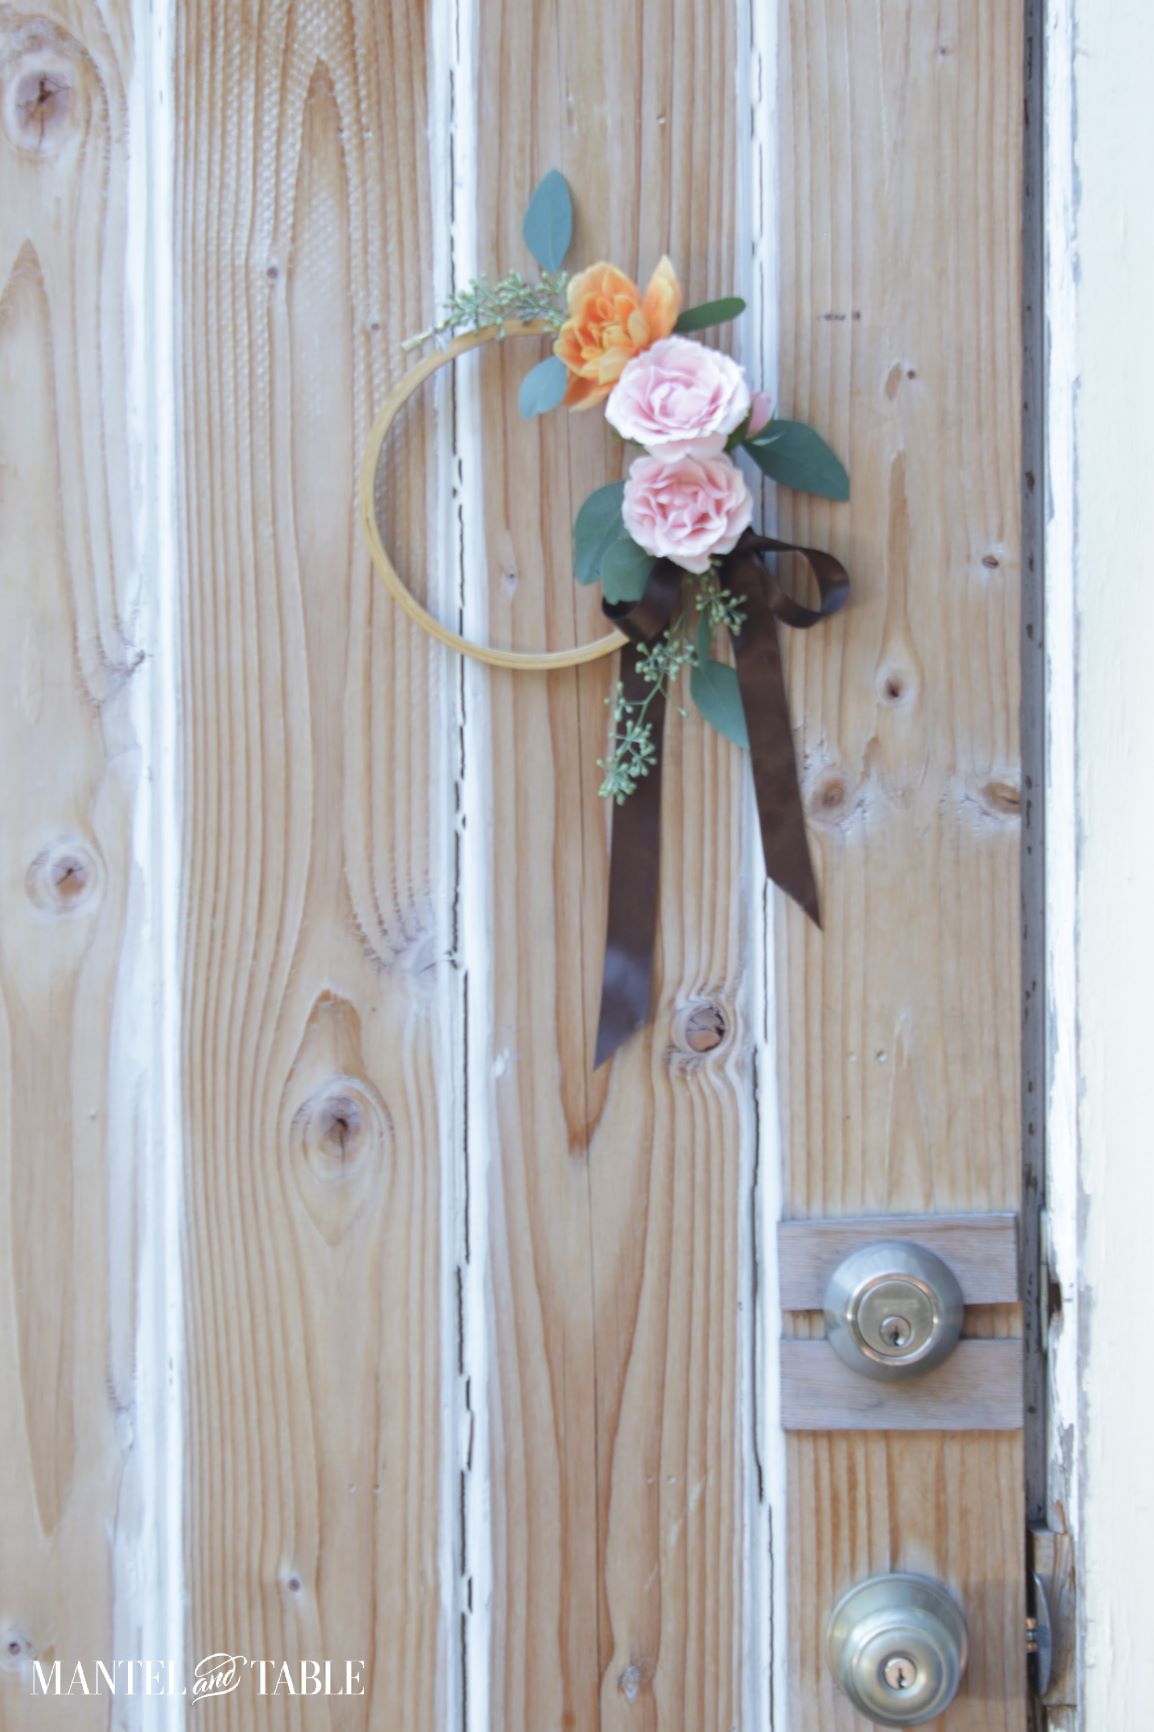
The Finished Fall Wreath DIY
Taa Daa! Here’s our fall wreath DIY hung in the place of honor! And here’s the post where we find out where I hung it!
Shop The Fall Wreath DIY Post

Click on the pictures for links to pieces I used for this tiny wreath. If the exact item isn’t available any more, I chose a similar option.
This post includes affiliate links for your shopping convenience. If you click on a link and end up buying anything from that site within 24 hours, I get a small commission with no extra cost to you. It’s a Win-Win, and helps cover the cost of publishing Mantel and Table. (You can read the whole disclosure policy here.) Thanks so much for shopping with me!
And remember, a portion of anything you buy from MANTELandTABLE.com goes to Habitat for Humanity and Proud Ground. With our purchases, we get to help people build homes for their own mantels and tables!


Pin The Fall Wreath DIY For Later

And Onward!
Next up in our Crafts Autumn Blog Hop, my good friend Julie from My Wee Abode!
Then keep going to see all these beautiful craft ideas from these very talented bloggers.
| Autumn Blog Hop – “There’s No Place Like Home” – Crafts | |||
|---|---|---|---|
 |
 |
 |
 |
| Blue Sky At Home | Thistle Key Lane | Karin’s Kottage | First Day of Home |
 |
 |
 |
 |
| The Painted Apron | My Humble Home & Garden | My Hubbard Home | Mantel and Table |
 |
 |
 |
|
| My Wee Abode | My Family Thyme | Celebrate and Decorate | |
Thanks so much for sharing this great hop with us – I’m so glad you stopped by. Let me know what you think in the Comments, and Happy Crafting!

This Post Shared With
- Fall Everything 2020 – Hosted by Shoestring Elegance
- Thursday Favorite Things #460 – Hosted by Katherine’s Corner
- Metamorphosis Monday #611 – Hosted by Between Naps on the Porch
- Tuesday Turn About #70 – Hosted by Blue Sky at Home
- Charming Homes & Gardens #29 – Hosted by The Ponds Farmhouse
- Metamorphosis Monday 09.09.24 – Hosted by Between Naps on the Porch
Love the color palette! Simple & pretty. What are the pin roses called? I have some pink Baby Blanket roses that look very similar. Visiting today via The Charming Homes & Gardens Tour 🙂
Thanks so much Marie! I don’t know the variety of pink roses – that particular batch was from the grocery store. But they sure were beautiful! I’ll look up Baby Blanket – I bet your garden is lovely! 🙂 So nice to see you here – feel free to stop back over any time! Happy Sunday!
Your wreath is just gorgeous Barbara. I wish you lived closer so you could give me a personal tutorial!
So glad you like it! I’d drive all the way up there for a personal tutorial if I could sit in your gorgeous garden for a while! 😉 Now that we’re figuring out how this distancing thing works, maybe we can arrange something. Springtime maybe? See you online in the meantime!
The sweetest little wreath I have ever seen! Thanks for the helpful tips Barbara!
Aw thanks Denise – it was so fun to make! Hope you’re having a lovely Monday so far! 🙂
Barbara, what a sweet wreath. Lovely flower choice. Goes to show that good things in little sizes.
Hi Carol! I’m so glad you like it – I’m crazy about the pink and orange this year. 🙂 Thanks for stopping by – hope you have a happy Sunday!
Such a cute little wreath! These would be perfect on kitchen cabinets! Fun hopping with you my sweet friend!
You too Julie – your garland is darling! And yes – kitchen cabinets would be perfect! Happy Thursday now! 🙂
Your embroidery hoop wreath is simply beautiful! The colors you chose are so pretty and I love the greenery! Pinned!
Thanks Lynne – That’s so sweet from another hoop wreath maker! 🙂 And thanks for pinning too! So nice hopping with you!
Love your embroidery hoop wreath. I’m not always a fan but love this one. The addition of tge ribbon is perfect.
Cindy
Oh Yaay! Isn’t it fun when you find something you like? My husband keeps telling me I’m going to find the perfect oyster that will change my mind someday … ! 🙂 Thanks so much for stopping over Cindy, and Happy Sunday!
There is that sweet little wreath again! Your step by step instructions are so easy to follow! I love the idea of incorporating fresh flowers on a wreath like this to greet guests! Happy Fall!
Ha – glad you like it! 🙂 I love easy – the hardest thing about this one was picking out the flowers! 🙂 Happy Fall to you too my friend!
Your tutorial was so easy to follow. Your hoop wreath is very pretty.
Thanks so much Terrie! I really appreciate you stopping by – I’m going to go visit your blog next! 🙂
Love your tutorial and this wreath is just so sweet! I love it and could be used in so many places.
Karin
It really could! I was thinking on the backs of chairs for a girls’ party, or on the aisle at a wedding. The options are limitless! 🙂 Thanks so much for stopping by Karin! Hope you have a wonderful week!
Thank you for the helpful tutorial Barbara. I really love the contrast of colors between the dark brown ribbon and the flowers. So pretty!
Thanks Michelle – I was liking that contrast too. Your post has inspired me to make some napkin rings with those same colors to match with a table. So much inspiration! 🙂
Hi Barbara! What a beautiful wreath! I love how soft and pretty this turned out. I do love using fresh flowers, too, and seeded eucalyptus is always a great choice for decorating. So happy to be on this hop with you!
Crissy! So glad you like it – it was so super easy! I was thinking fresh flowers would work for a party or something where they won’t mind being out of water for a while. Same to you, and hope you have a great evening!
Such a pretty wreath Barbara, it’s simple yet so elegant! Love the chocolate brown ribbon 🙂
Thanks so much Jenna! These colors are really speaking to me this season – especially the chocolate part of the chocolate brown ribbon! 🙂 Thanks so much for stopping by!
Barbara, great tutorial following the post on your fall hoop wreath. Everyone should try their hand at making one! Thanks for sharing the instructions so people can create their own for a pretty porch welcome.
Hugs,
RR
Thanks Rachelle – and thanks for hosting this wonderful hop! I’m so happy to be included, even though I apparently only figured out the link thing in time for the last one! It’s been a fabulous experience!
Barbara, your wreath is beautiful! I love the pretty colors you chose, and your instructions are perfect. Thanks so much for sharing how you made this pretty wreath! Enjoy your day, sweet friend!
Thanks so much Shannon – I’m in love with those colors this year! I’m so glad you stopped by. I’ve been missing your beautiful blog and I hope to catch up very soon! Take care in the meantime, and Happy Wednesday!