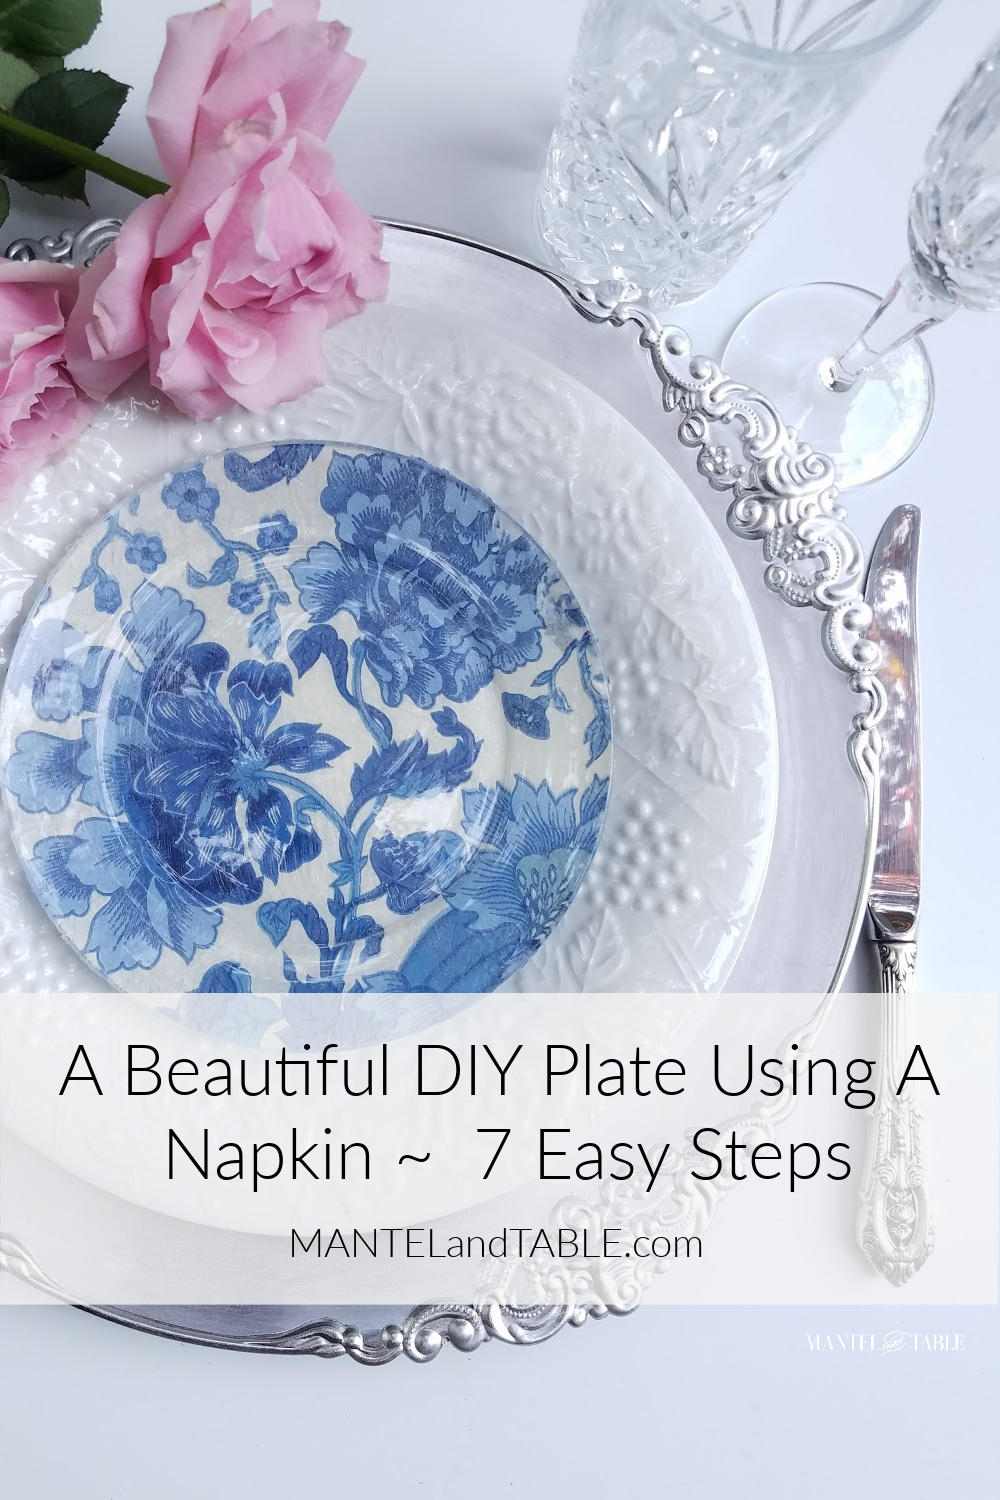
A Beautiful DIY Plate Using A Napkin ~ 7 Easy Steps
Okay All – it’s time to make a beautiful DIY plate using a napkin!
I don’t do DIYs very much anymore, so I was excited to give myself some time to do this one.
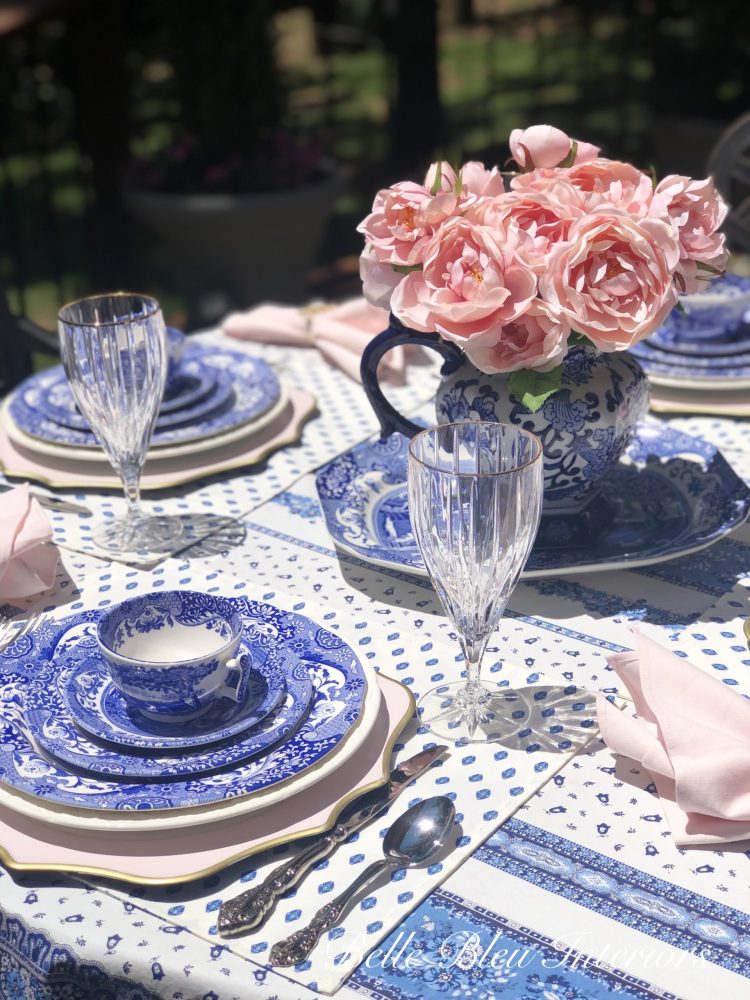
Inspiration For The Setting
A lovely blogging friend of mine – Shannon from Belle Bleu Interiors – set a gorgeous table a while ago. She used blue and white and pink, and I was absolutely crazy about it! (In fact I used it for my computer screen saver at work!)
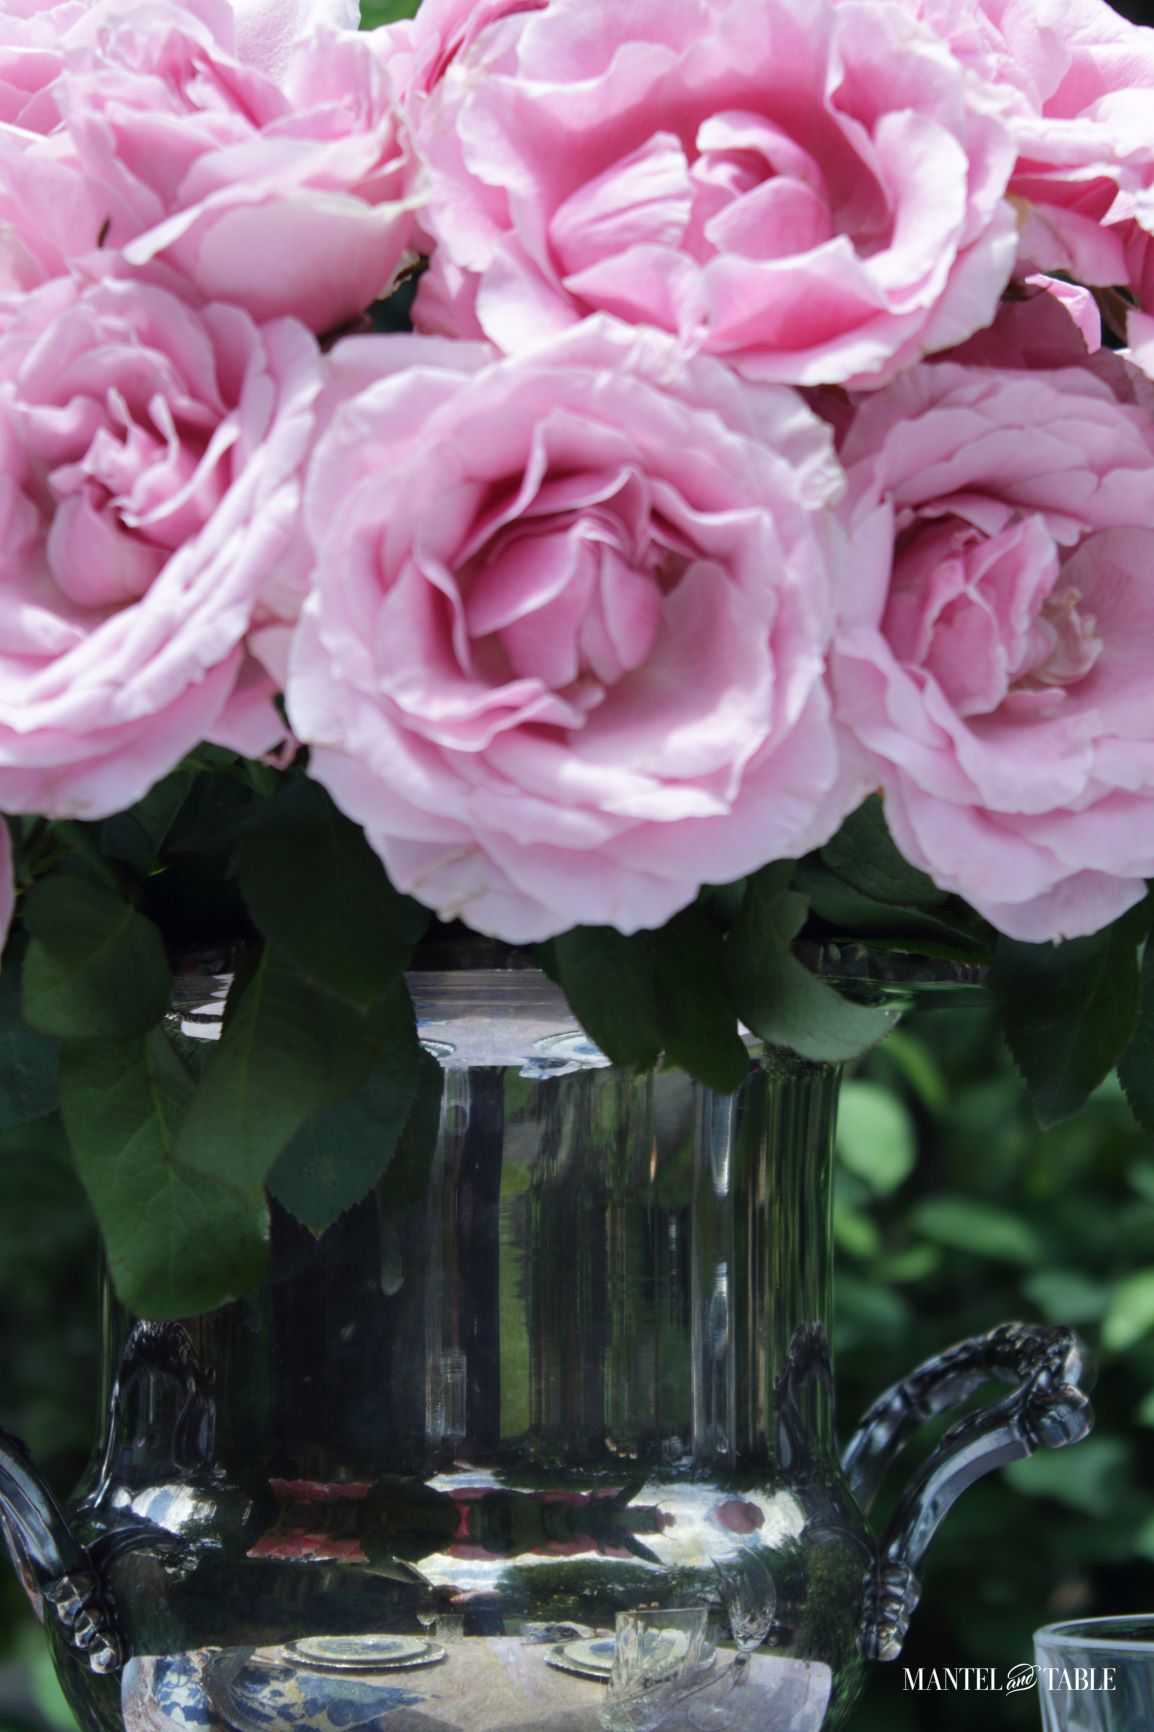
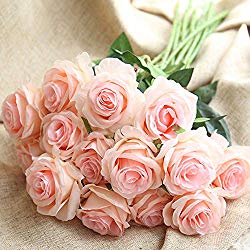
I really wanted to try one myself, and when I received these gorgeous pink roses, I knew the time had come!
Just one problem – I don’t own any blue and white dishes!
Inspiration for a DIY Plate
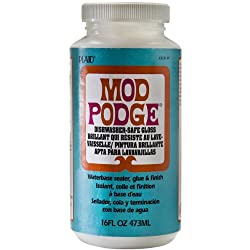
But wait! I remembered having seen several people doing various crafts with paper napkins and Mod Podge. So I thought I’d give it a try.
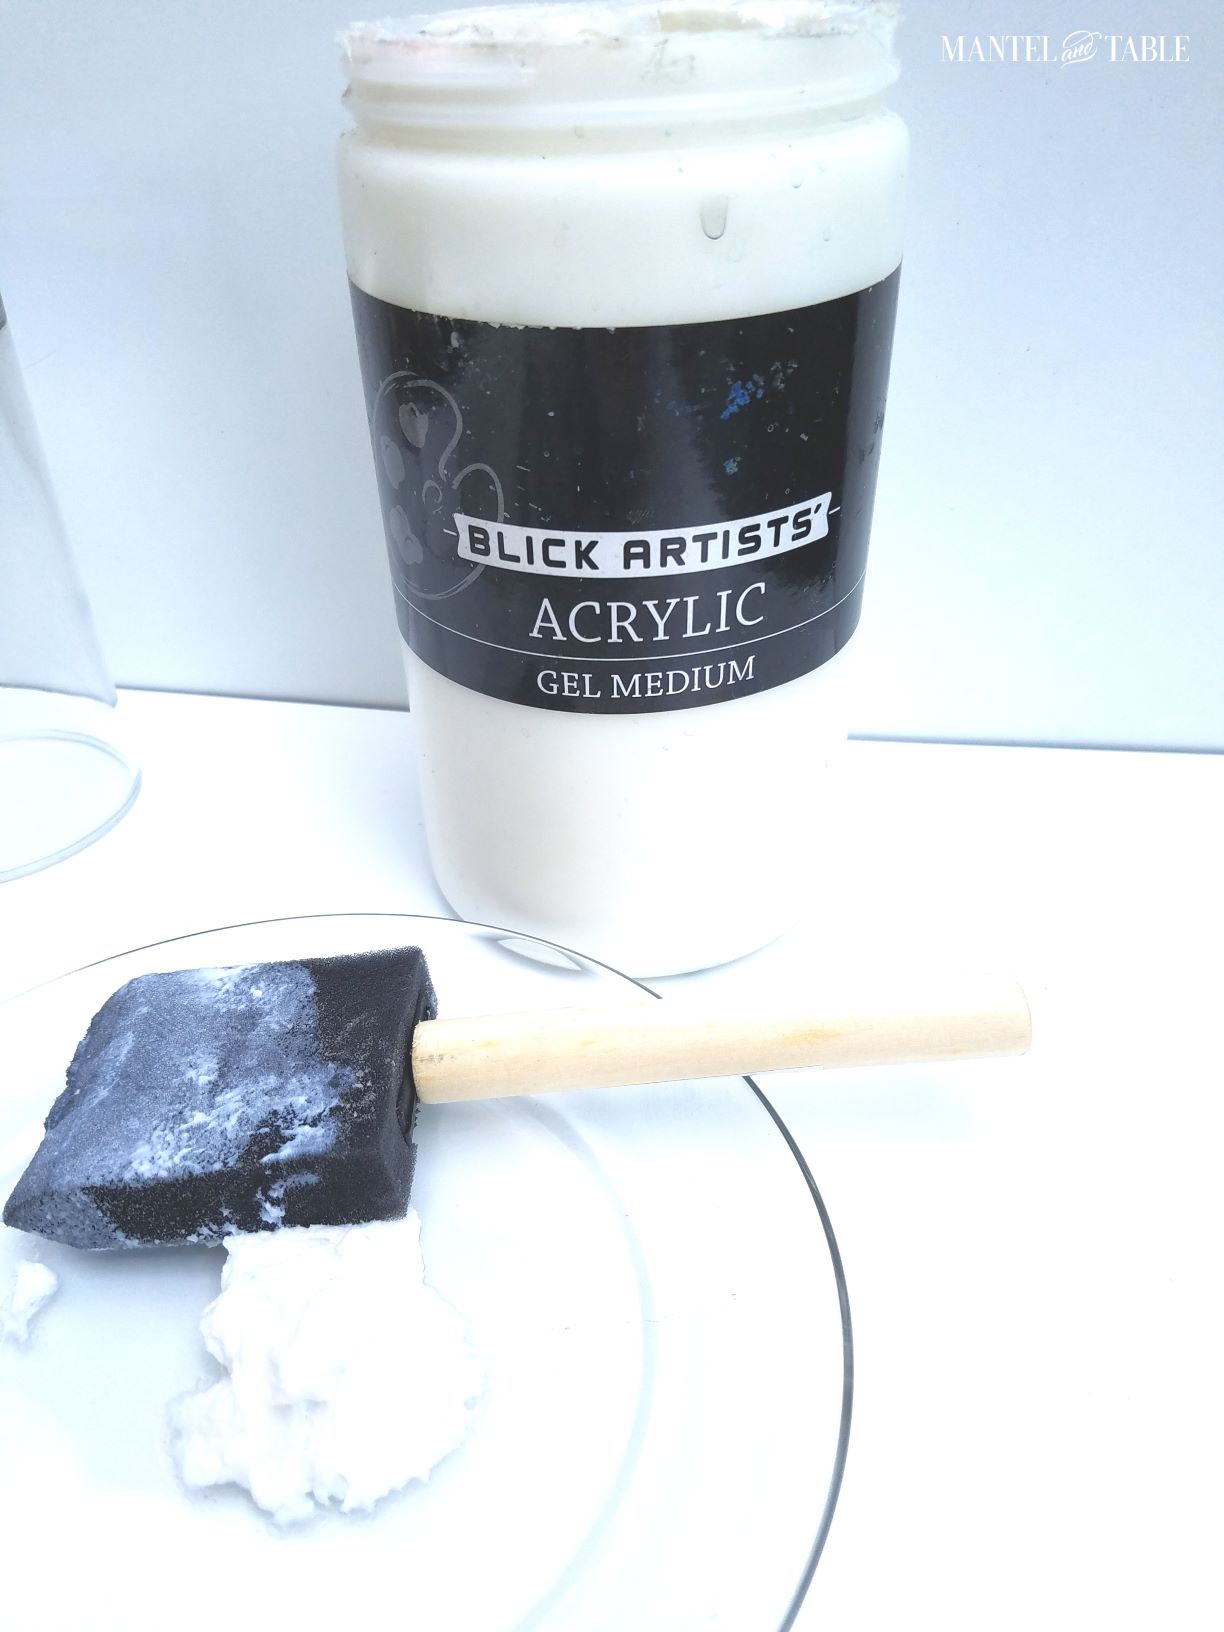
Unfortunately, I didn’t have any Mod Podge. But fortunately, my neighbor is an artist. She didn’t have any Mod Podge either, but she did have this acrylic gel medium that we thought would work.
Just a little note here. It DID work, but I don’t think it was the perfect tool for the job. We both thought that some Dishwasher-Safe Mod Podge would be the right answer. I’m ordering some up for next time! (See the shopping section at the bottom of this post.)
The DIY Plate Process
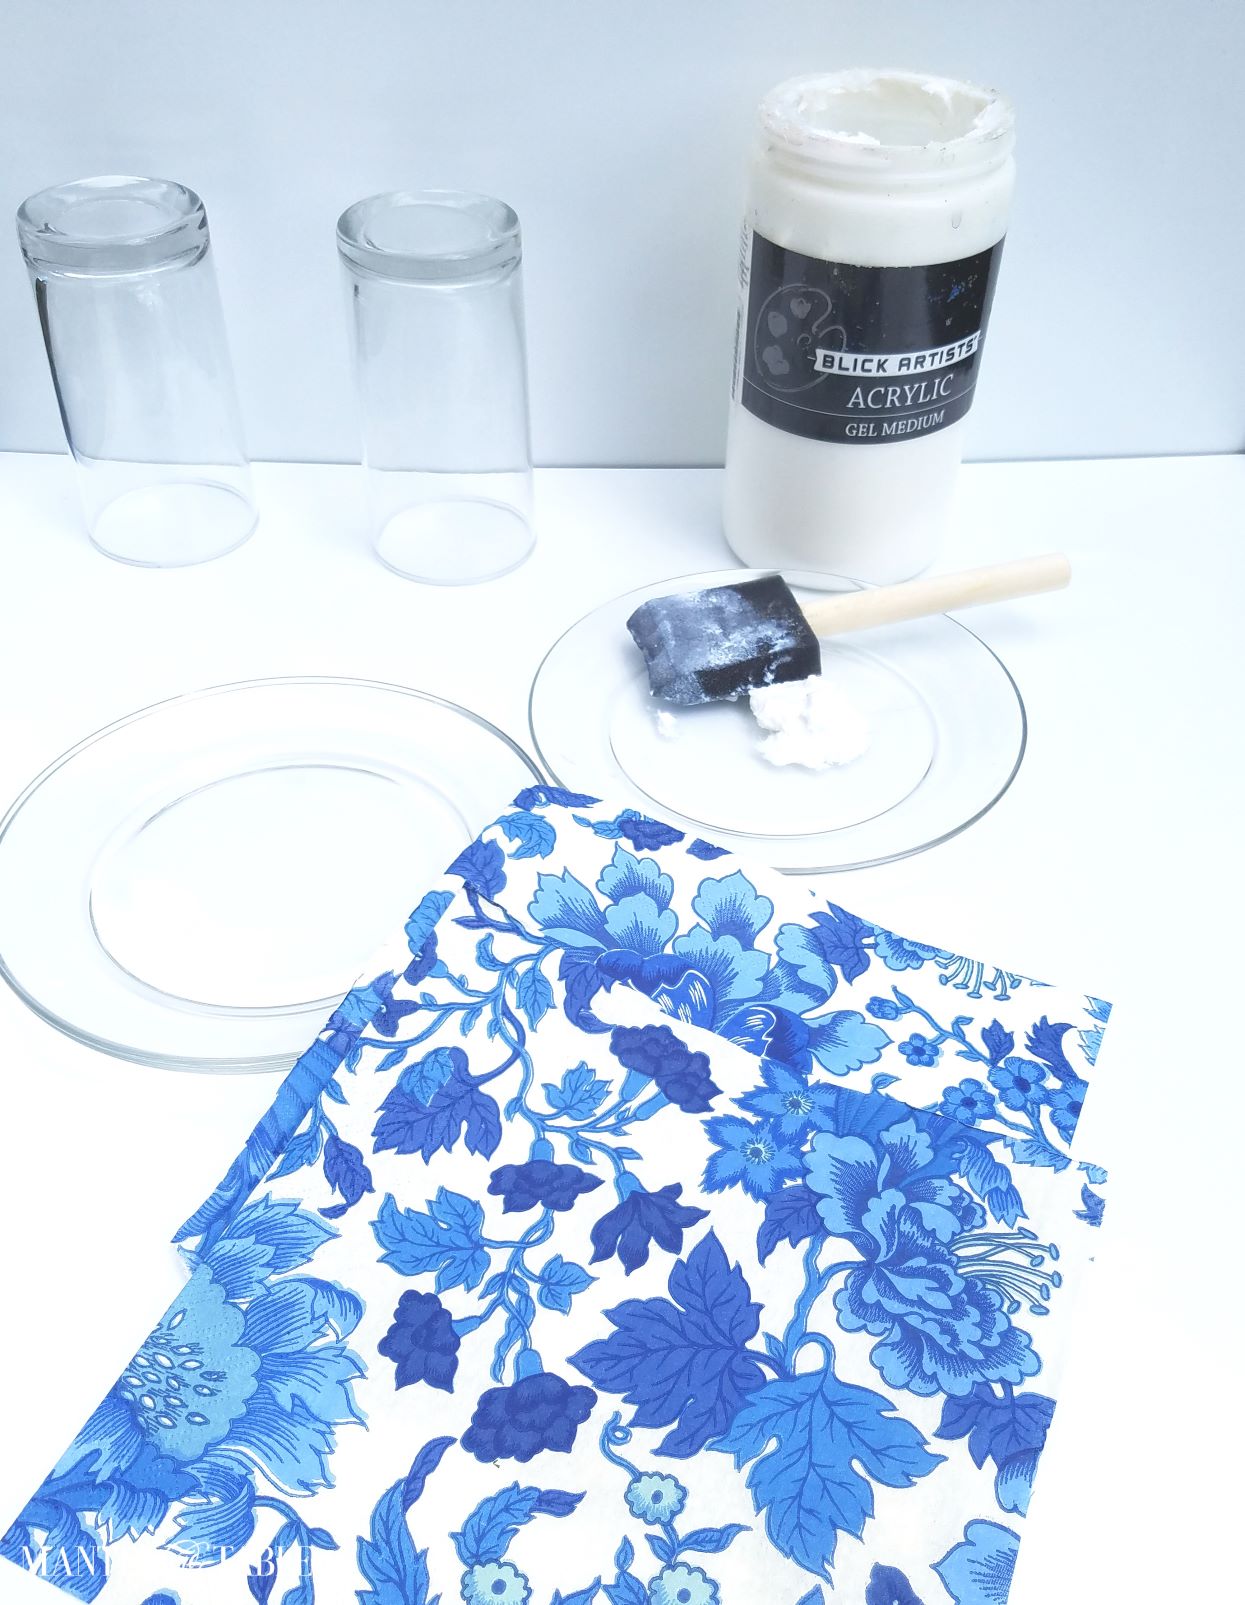
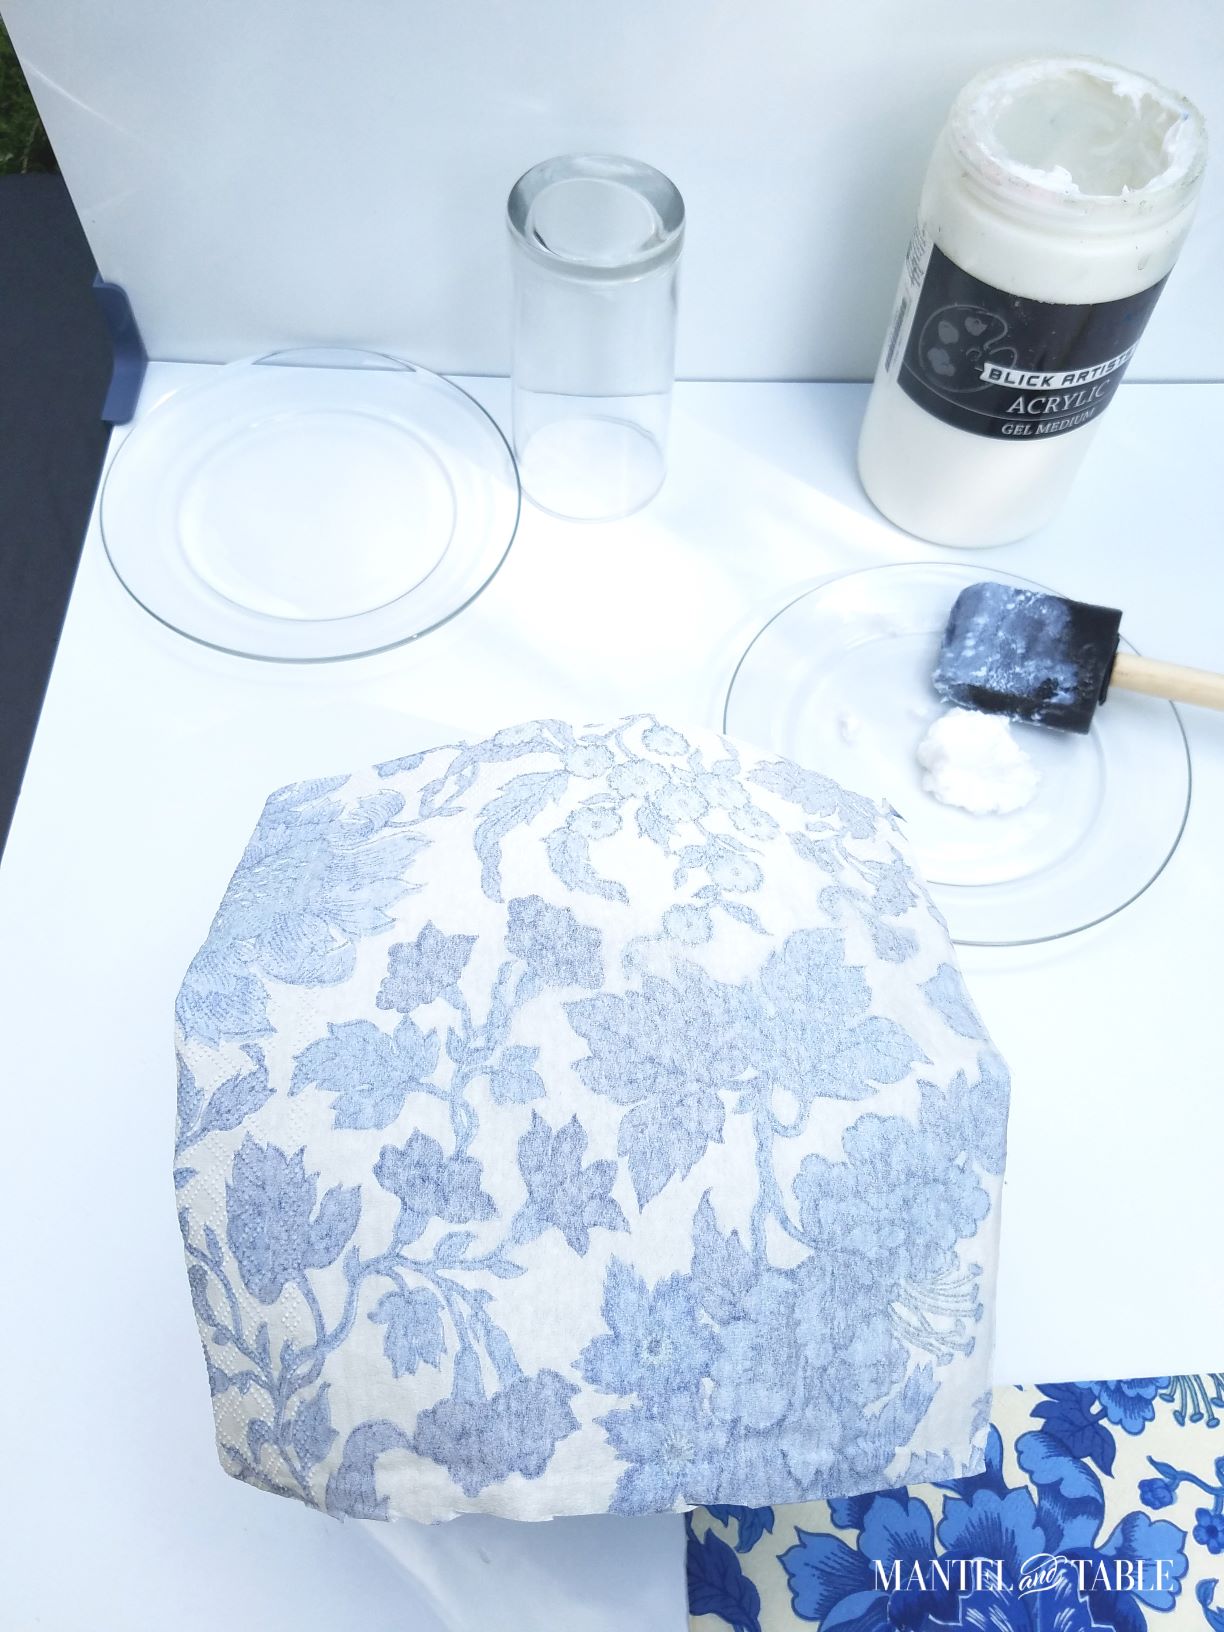
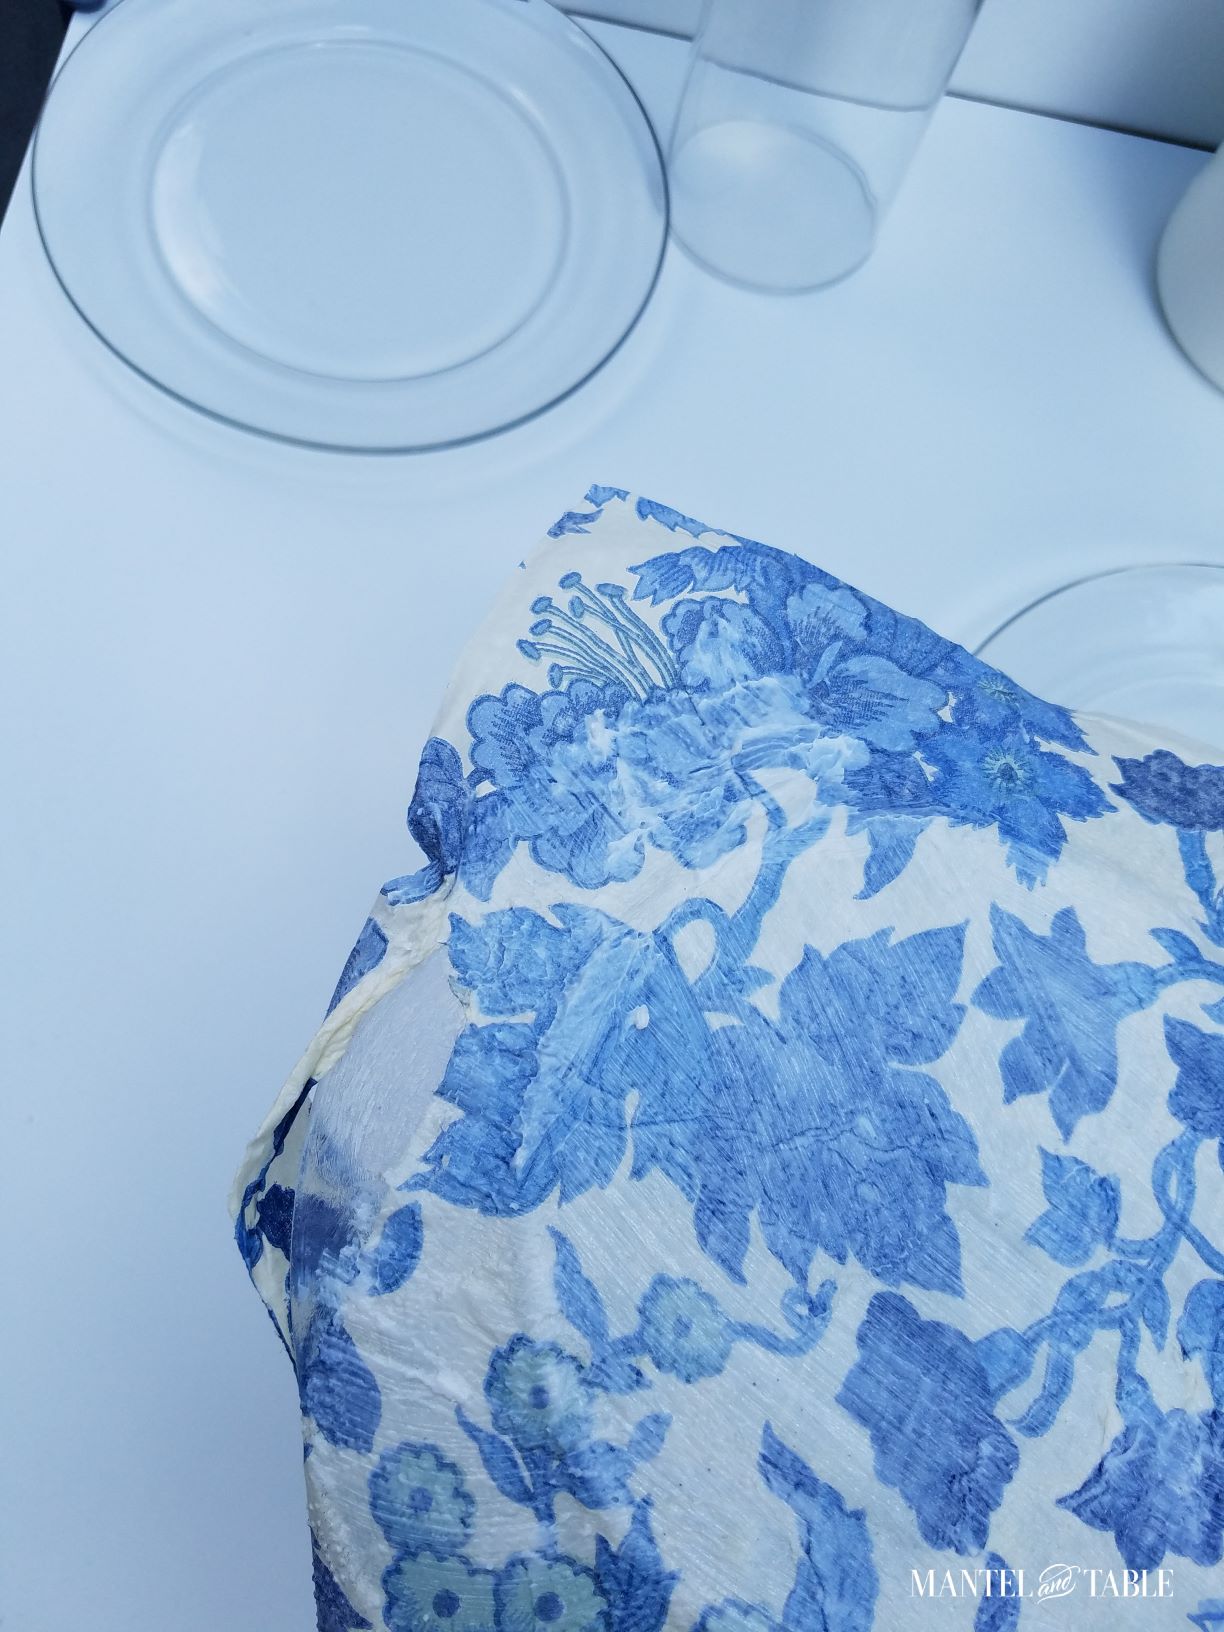
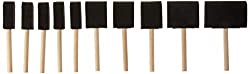
Ok, so here’s my stuff all laid out. I like to get together everything I’m going to use before I start. I’ve spent too many projects running around because I forgot something important.
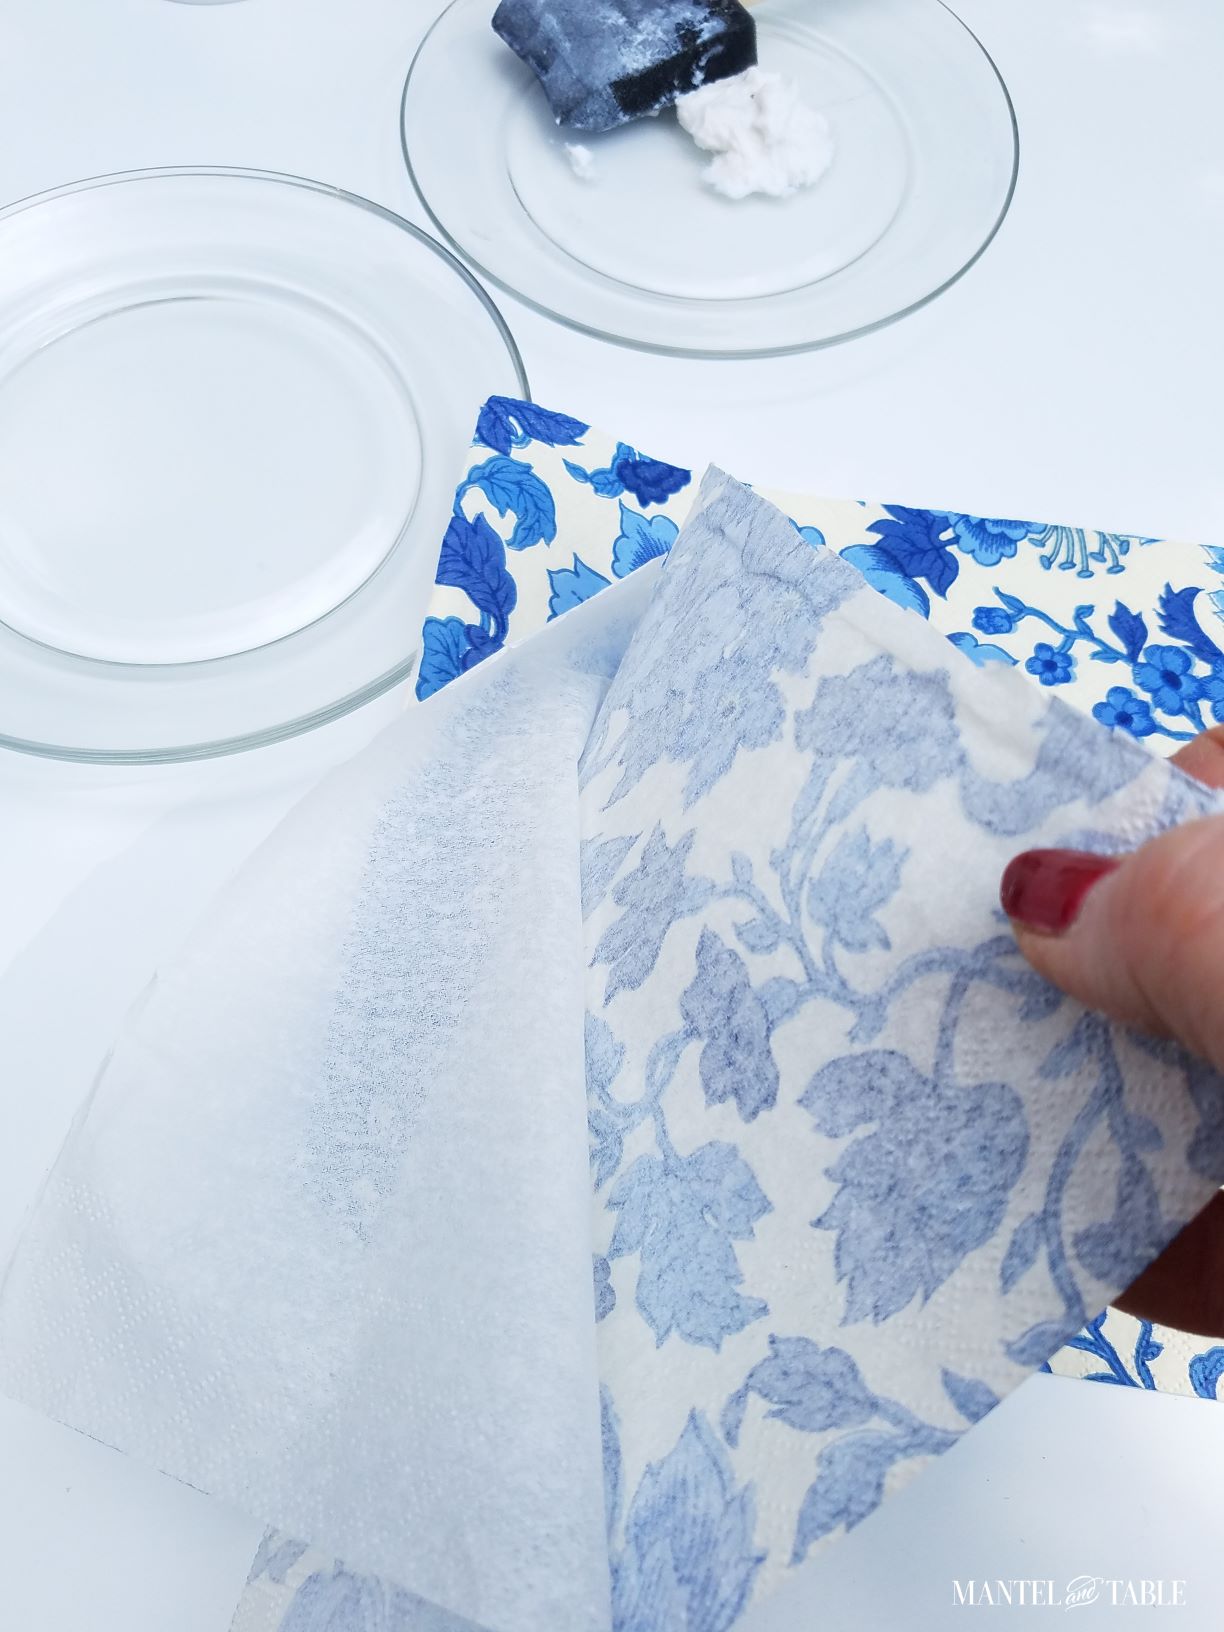
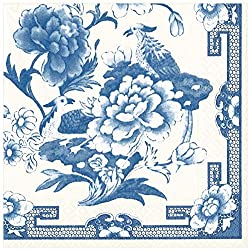
But aren’t those pretty napkins? I’d just recently gotten them and was dying to use them somewhere.
Winging IT!
I usually research my projects to make sure I’m doing it right. But this time, I just winged it! I did learn as I went along, just like the Mod Podge lesson above.
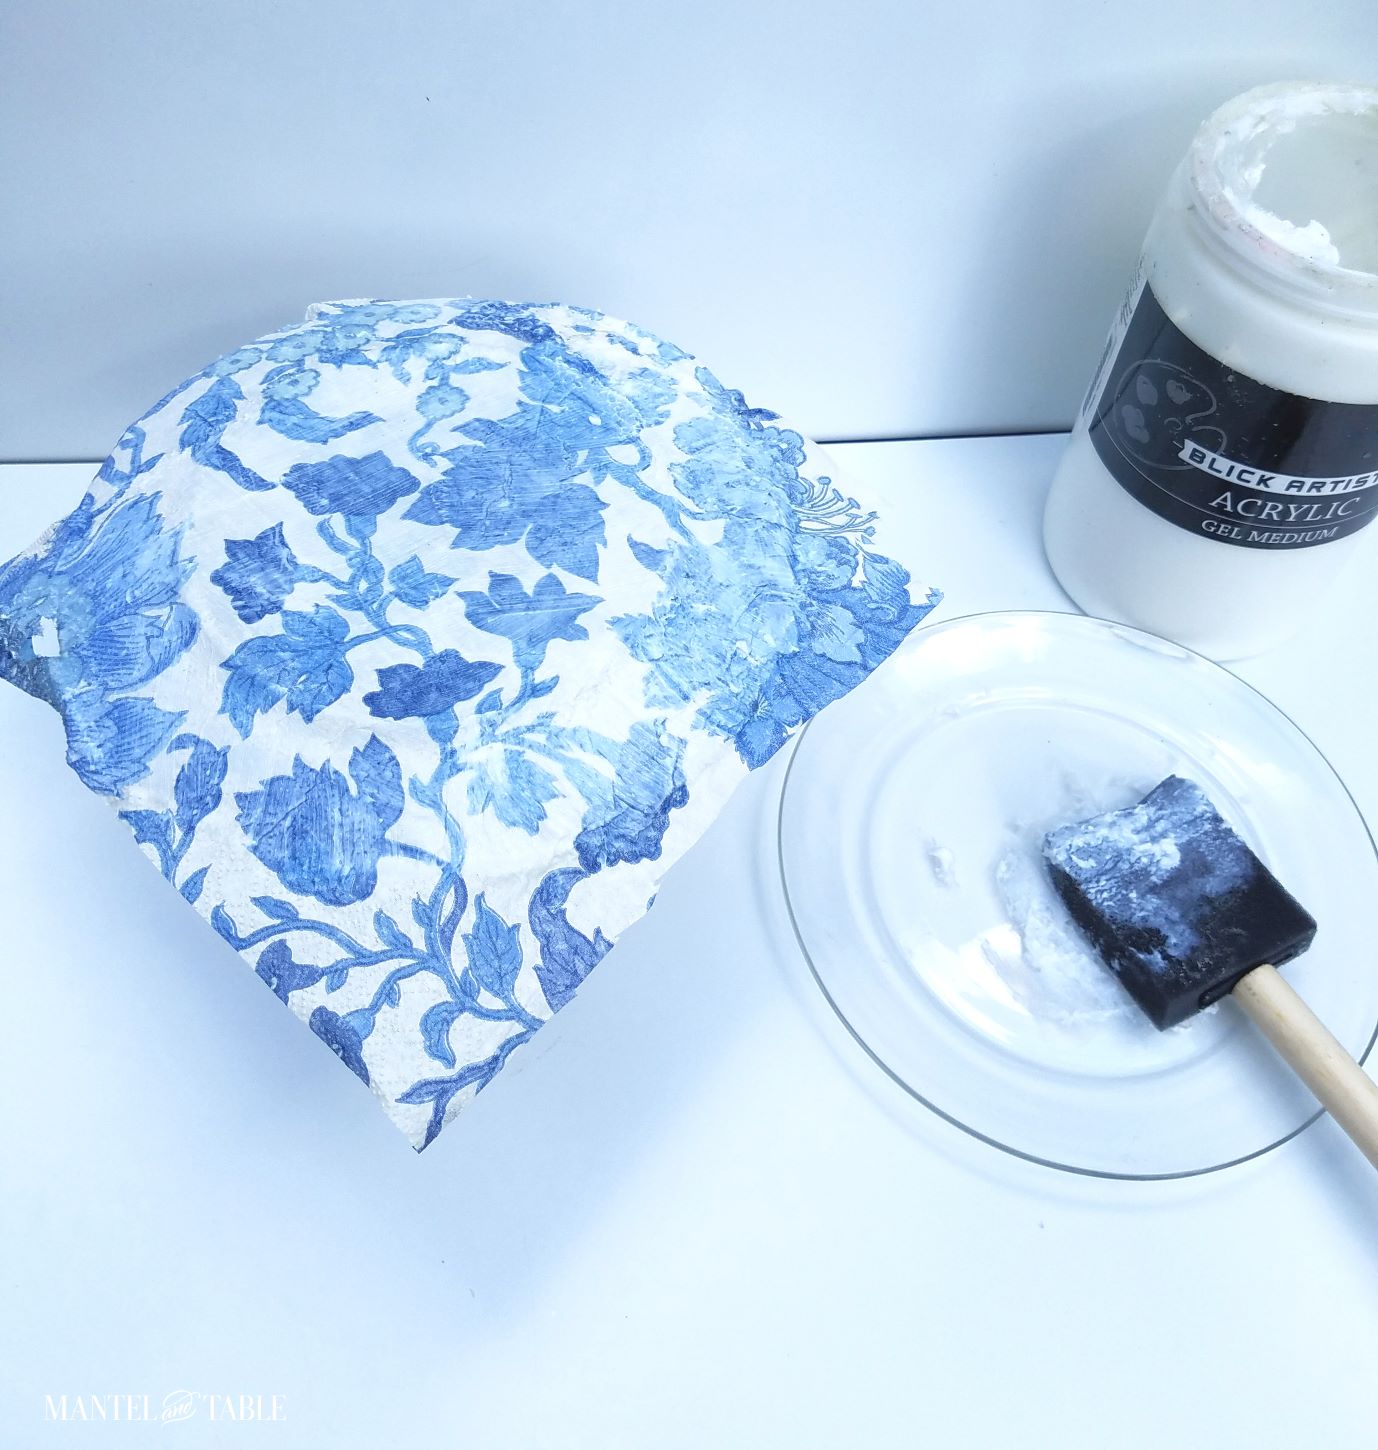
Here’s the medium, just plopped onto an extra plate. It was really thick.
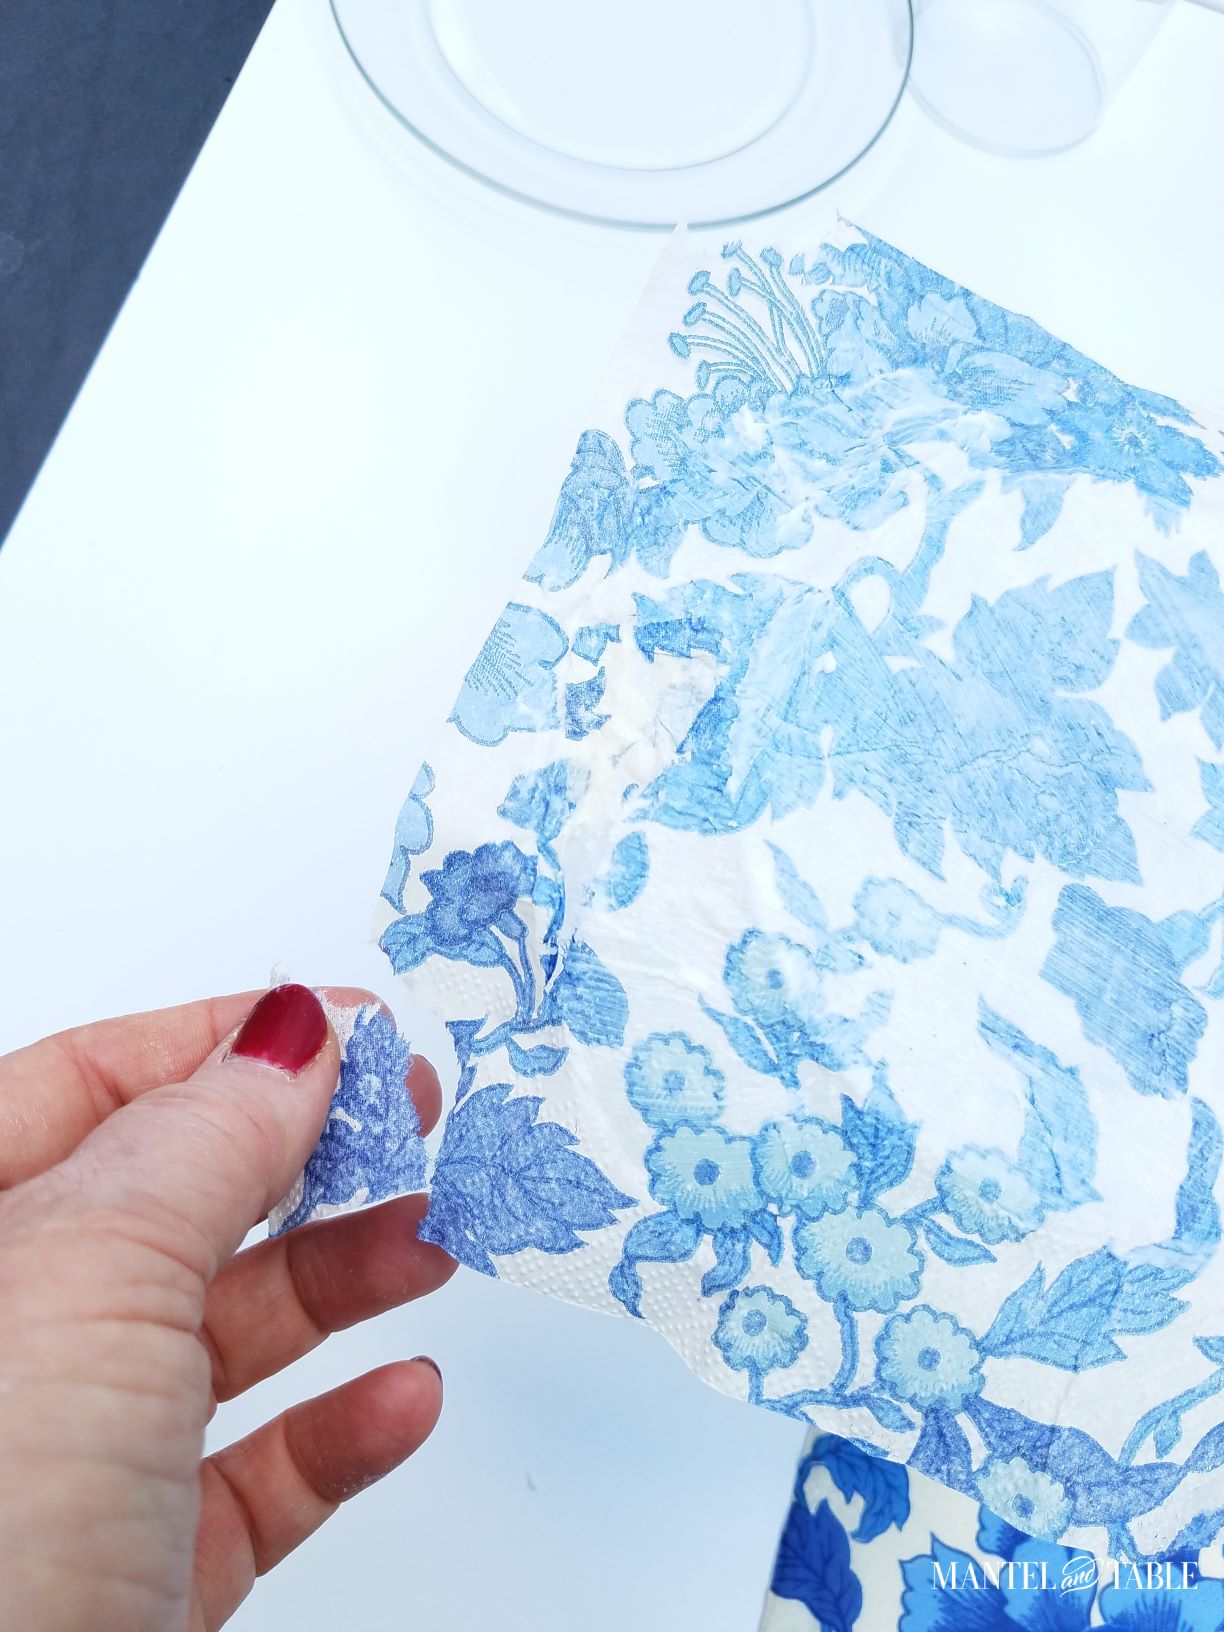
Step 1 ~ Separate the Napkin Layers
Separating the napkin is pretty self-explanatory – see photo below. Just be gentle.
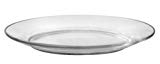
I used glass salad plates from my party plate stash. They’re super inexpensive and strong too.
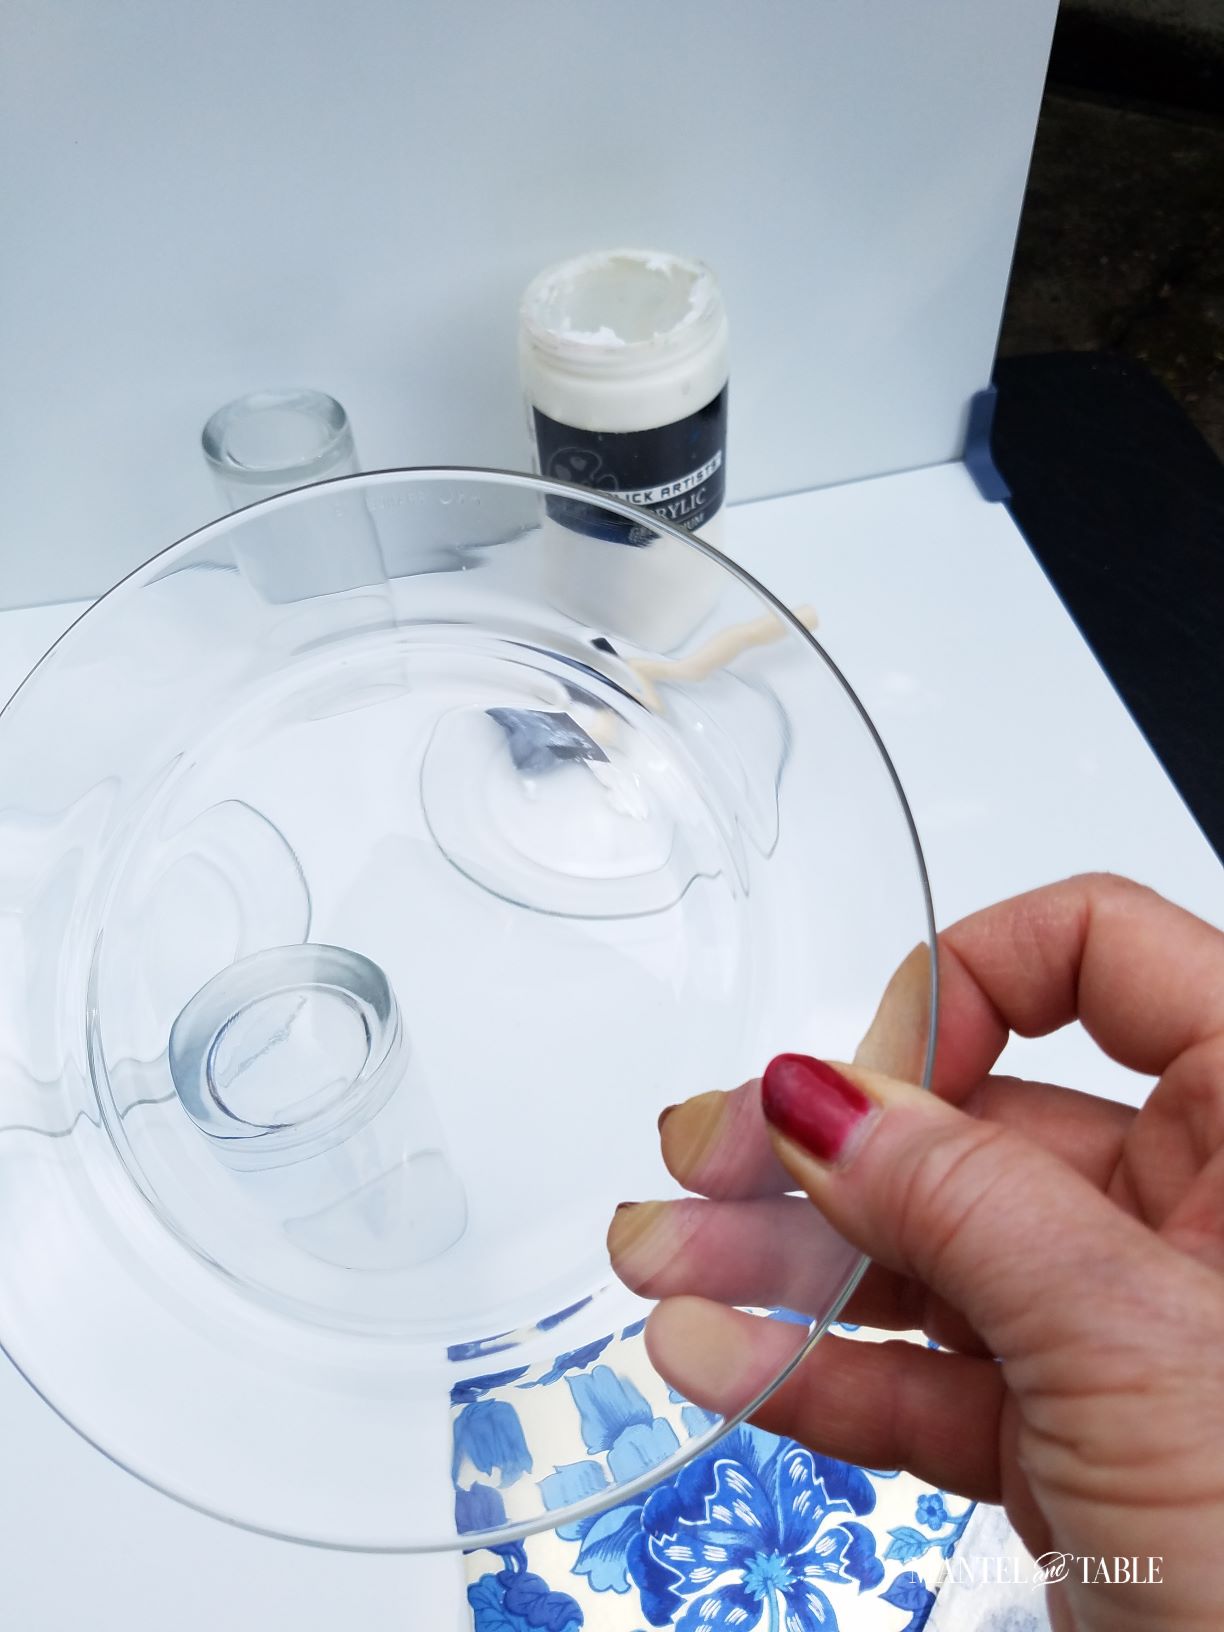
I laid the plate upside down on a water glass to keep it elevated. (Like I said – I was winging it. You might want to use something a bit less slippy.)
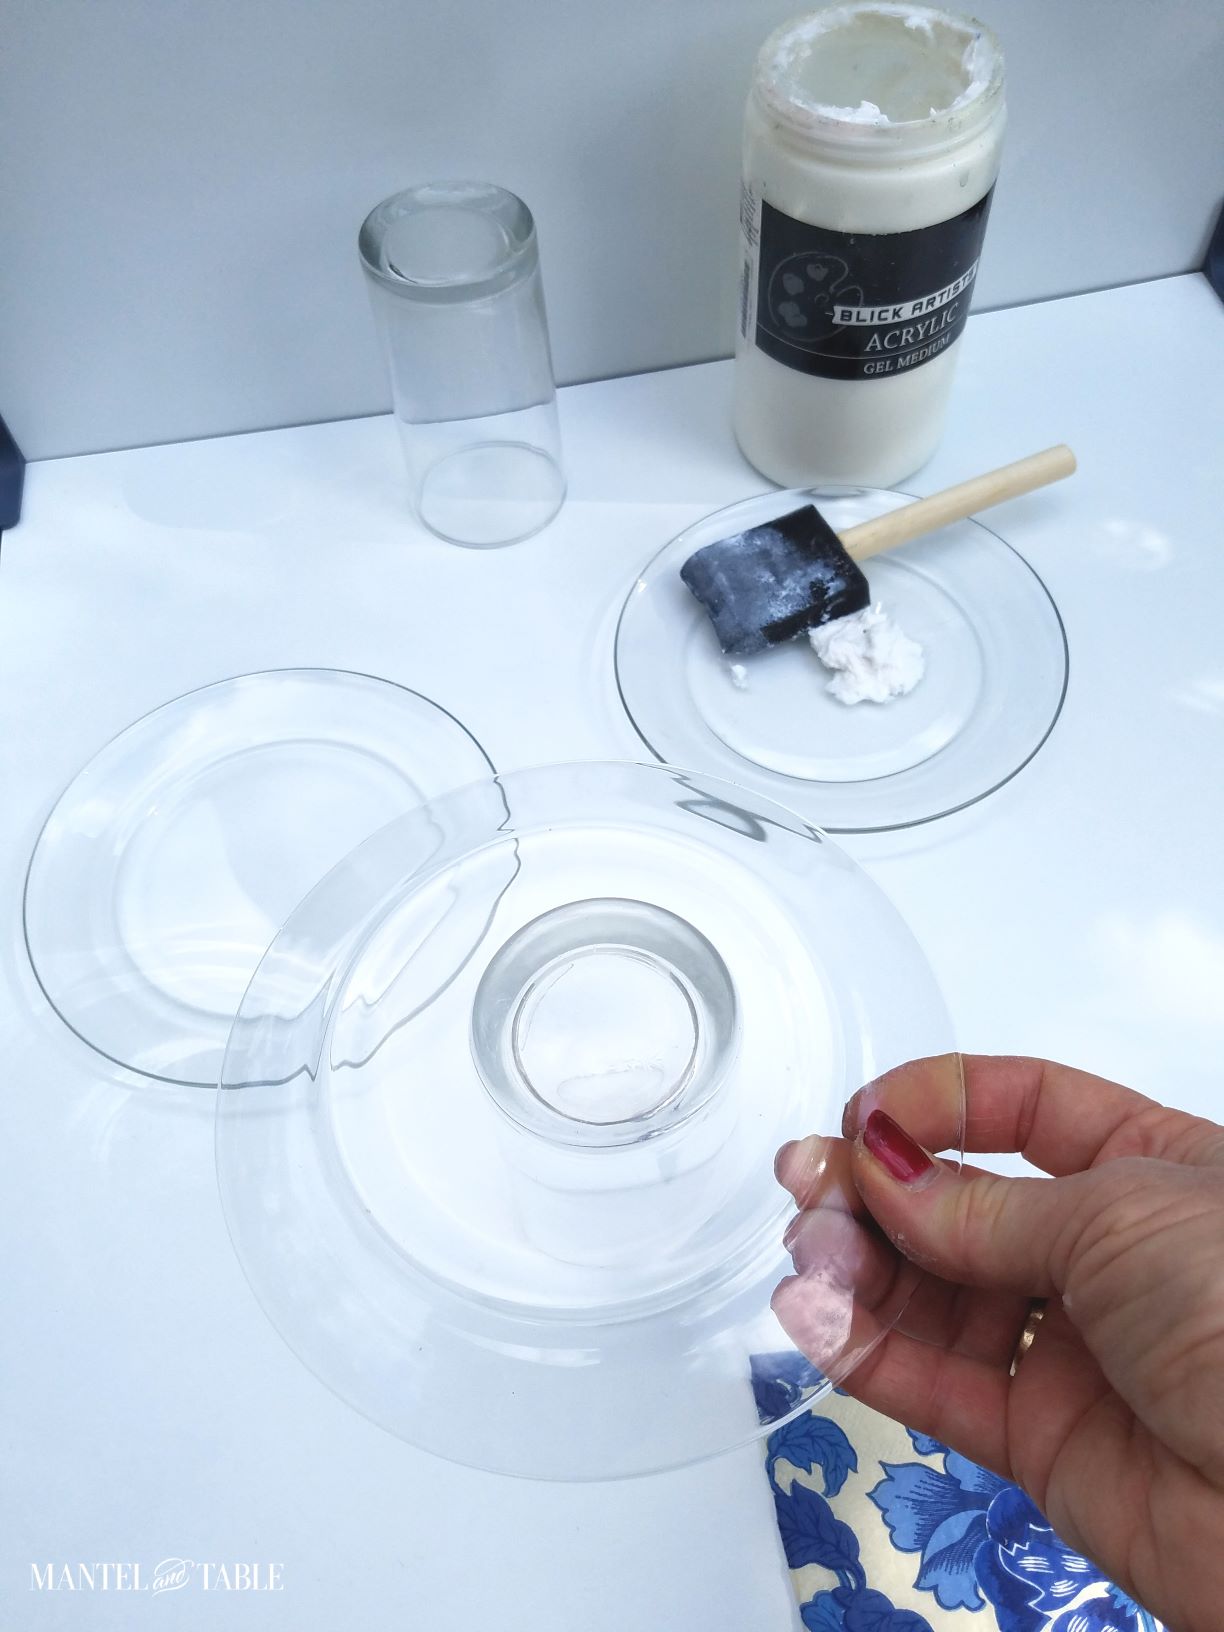
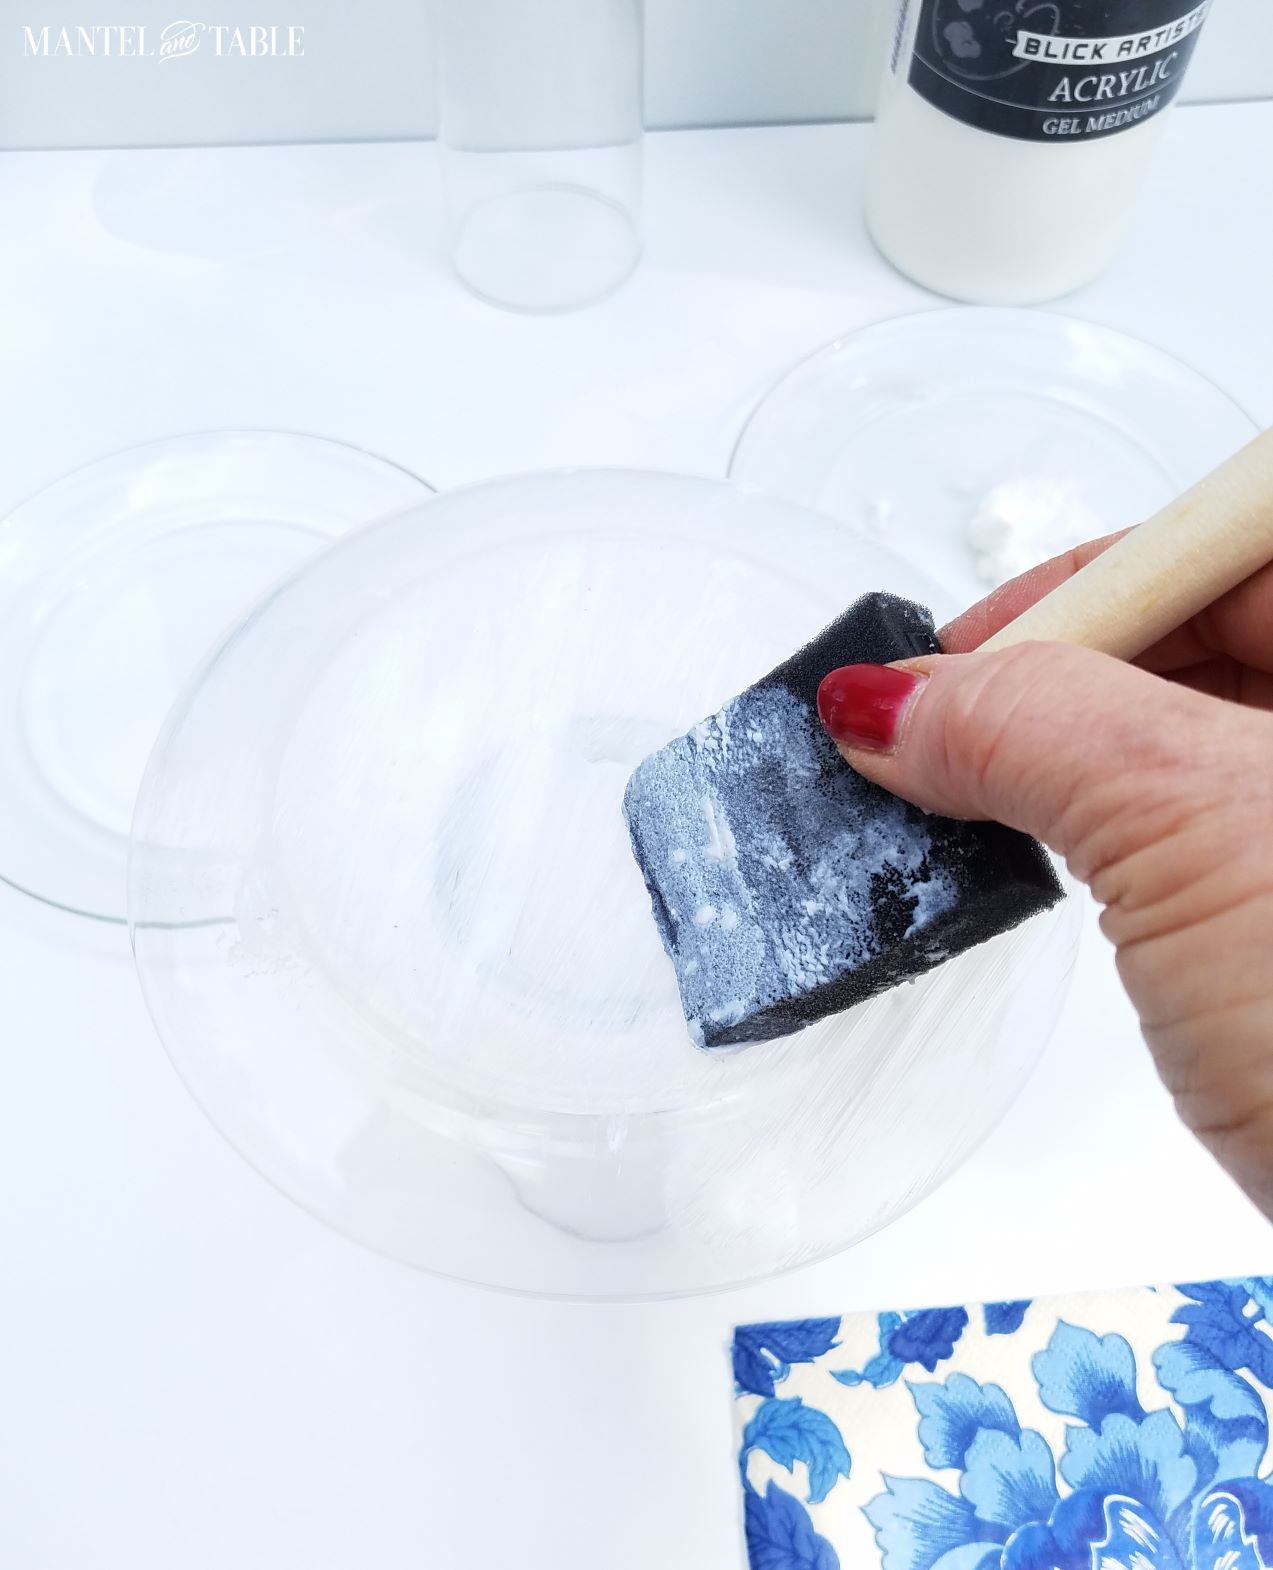
Step 2 ~ Brush Medium onto the DIY Plate
This was fun! You basically just paint the bottom of the plate with medium. I tried to put a little extra around the edge to hold the napkin on better.
Step 3 ~ Put on the Napkin
Then you just lay the napkin, printed side down, over your plate.
Gently smooth it down, starting in the middle and working out. You want to get any air bubbles out, and make sure the napkin isn’t wrinkled.
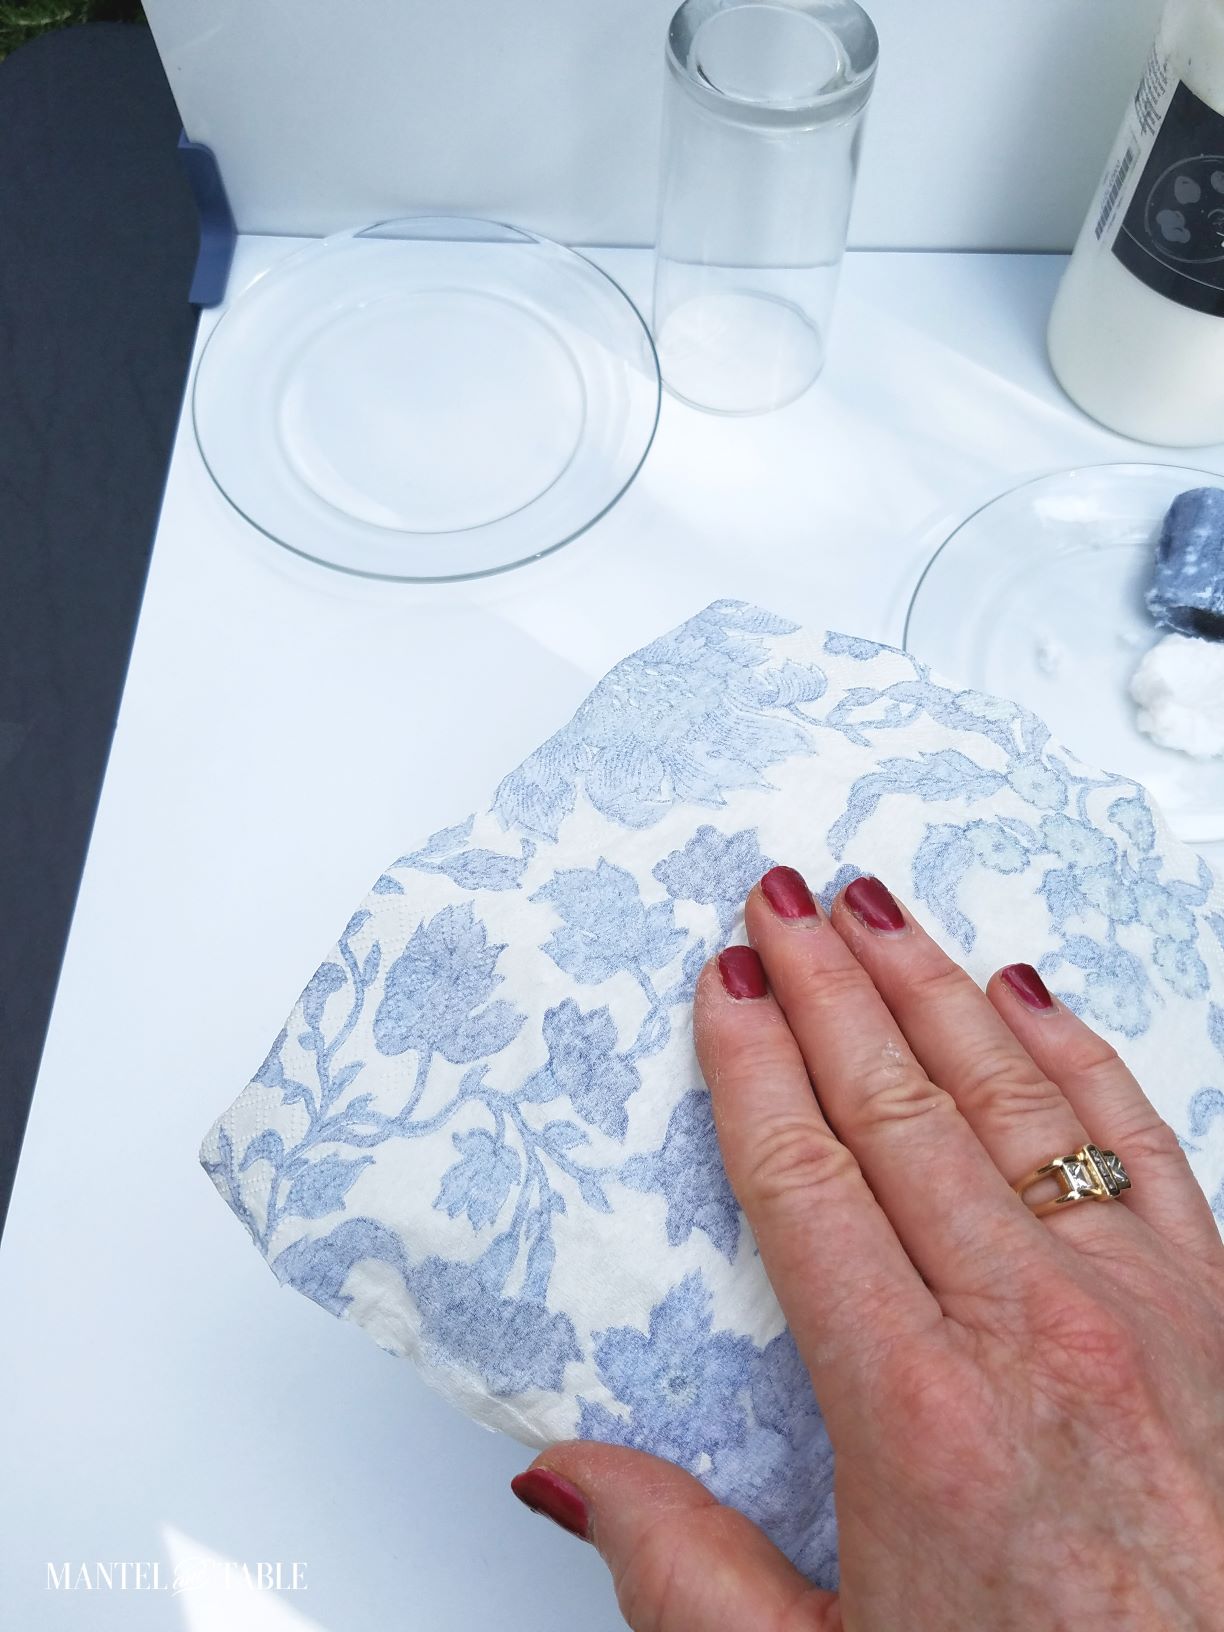
The napkin gets damp as you go, so be gentle and use care. (Your hands will get messy too, by the way!)
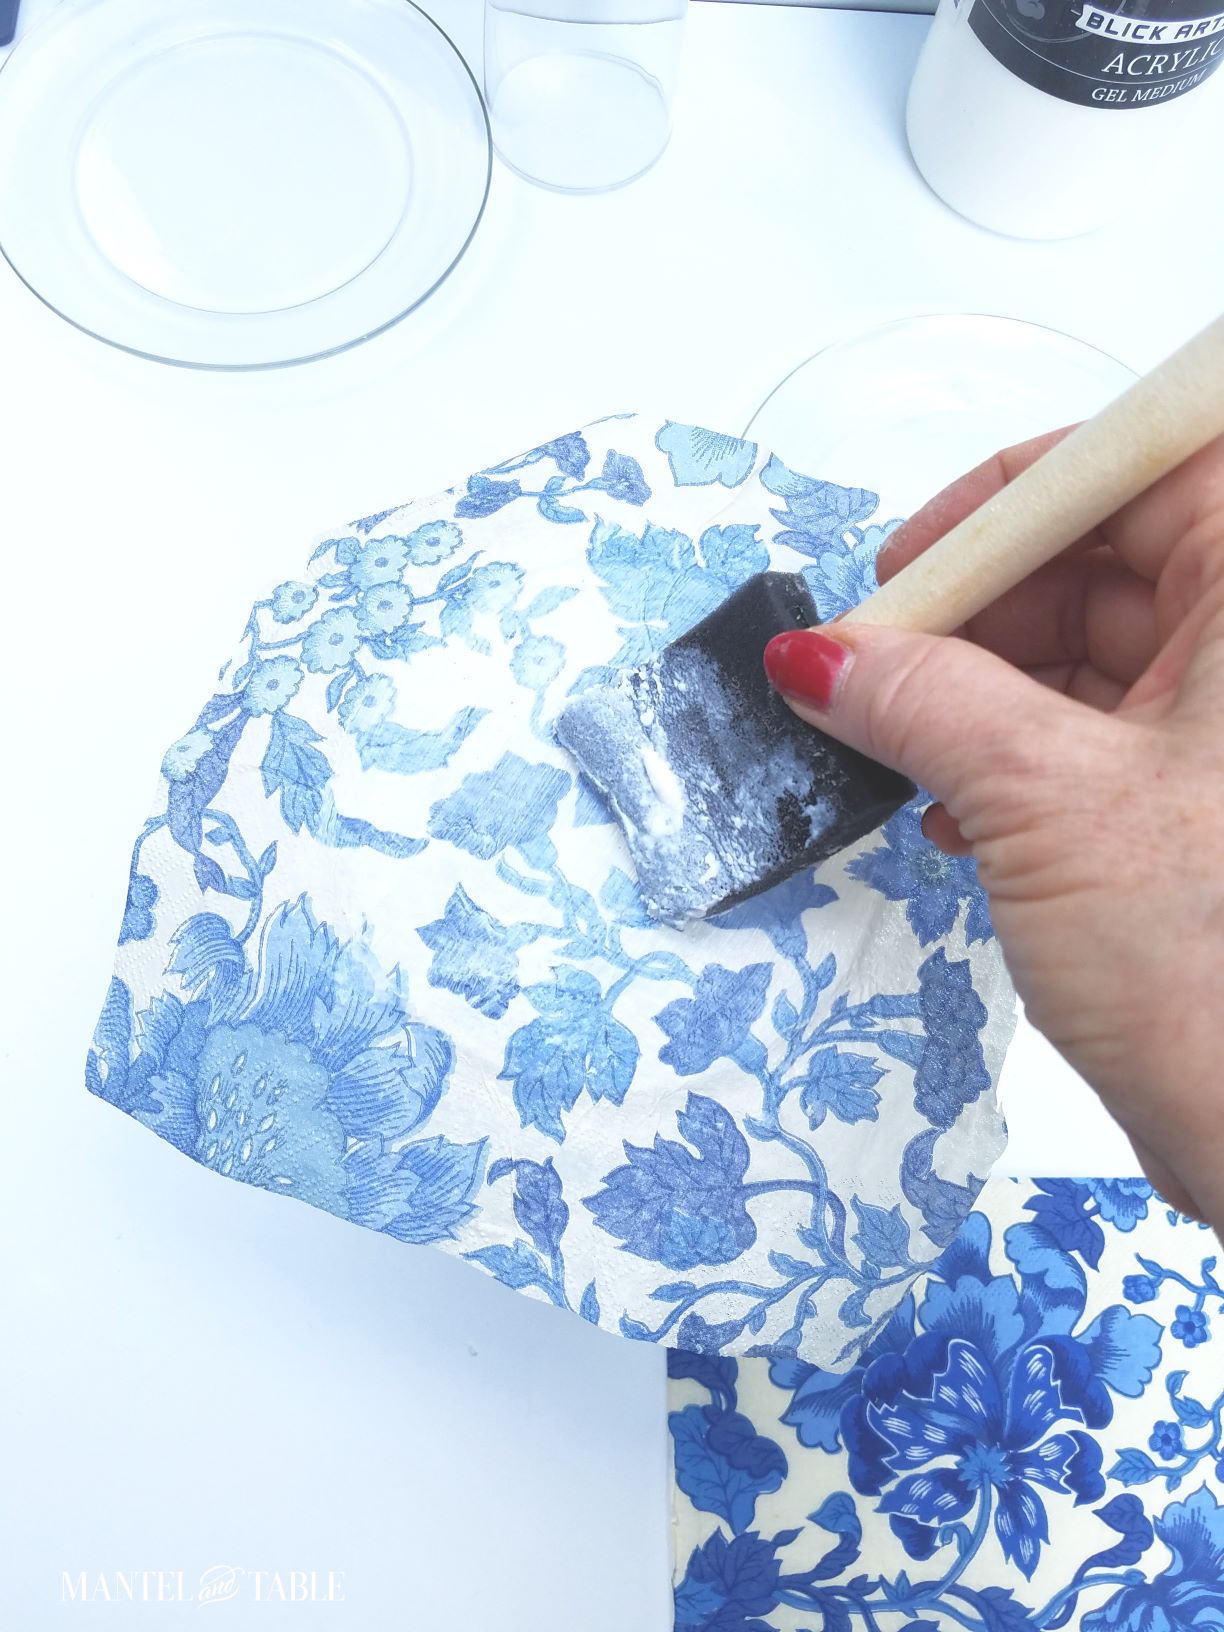
Step 4 ~ Brush Medium Over The Napkin
This was the trickiest step. The napkin is pretty wet by this time, so you have to be really careful with the medium.
Oh No – I ripped it! I guess I got a little too enthusiastic with the thick medium. This might be another place that a good new bottle of Mod Podge would be better.
However, it was easy to fix. Just pull a little bit of excess napkin off, and stick it over the hole.
Paint over it with the medium, and Voila!
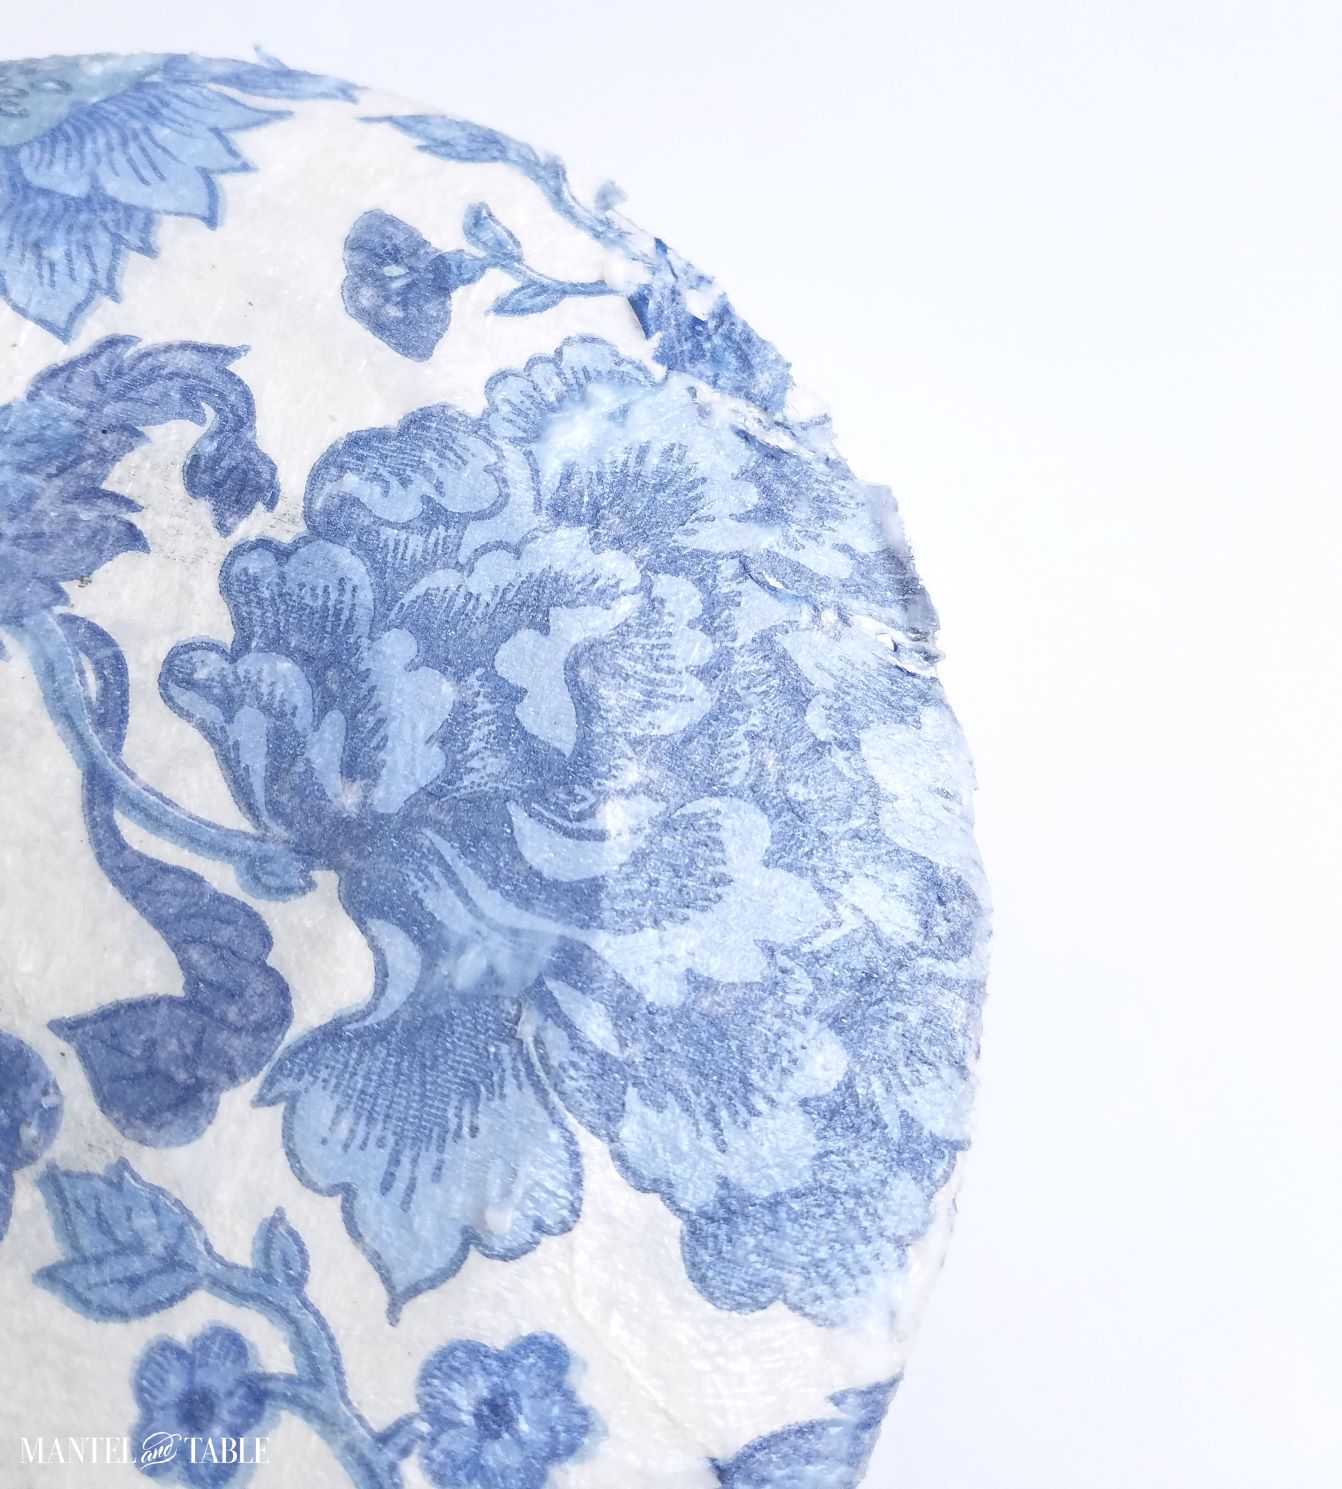
(I agree, our DIY plate looks a bit lumpy at this stage. But it all smooths out as you go along.)
So after painting over the whole thing, this is what it looks like.

Step 5 ~ Trim the Edges
The napkin was wet and soft, (as you saw above with the rip!) so it was easy to tear &/or press away the edges. Just be gentle, and you shouldn’t have any problems.
You could cut it too if you want a smoother edge. But be careful, and use sharp scissors!
Step 6 ~ Let The DIY Plate Dry
I did two other plates, then let them all dry. Don’t they look like blue and white mushrooms?!
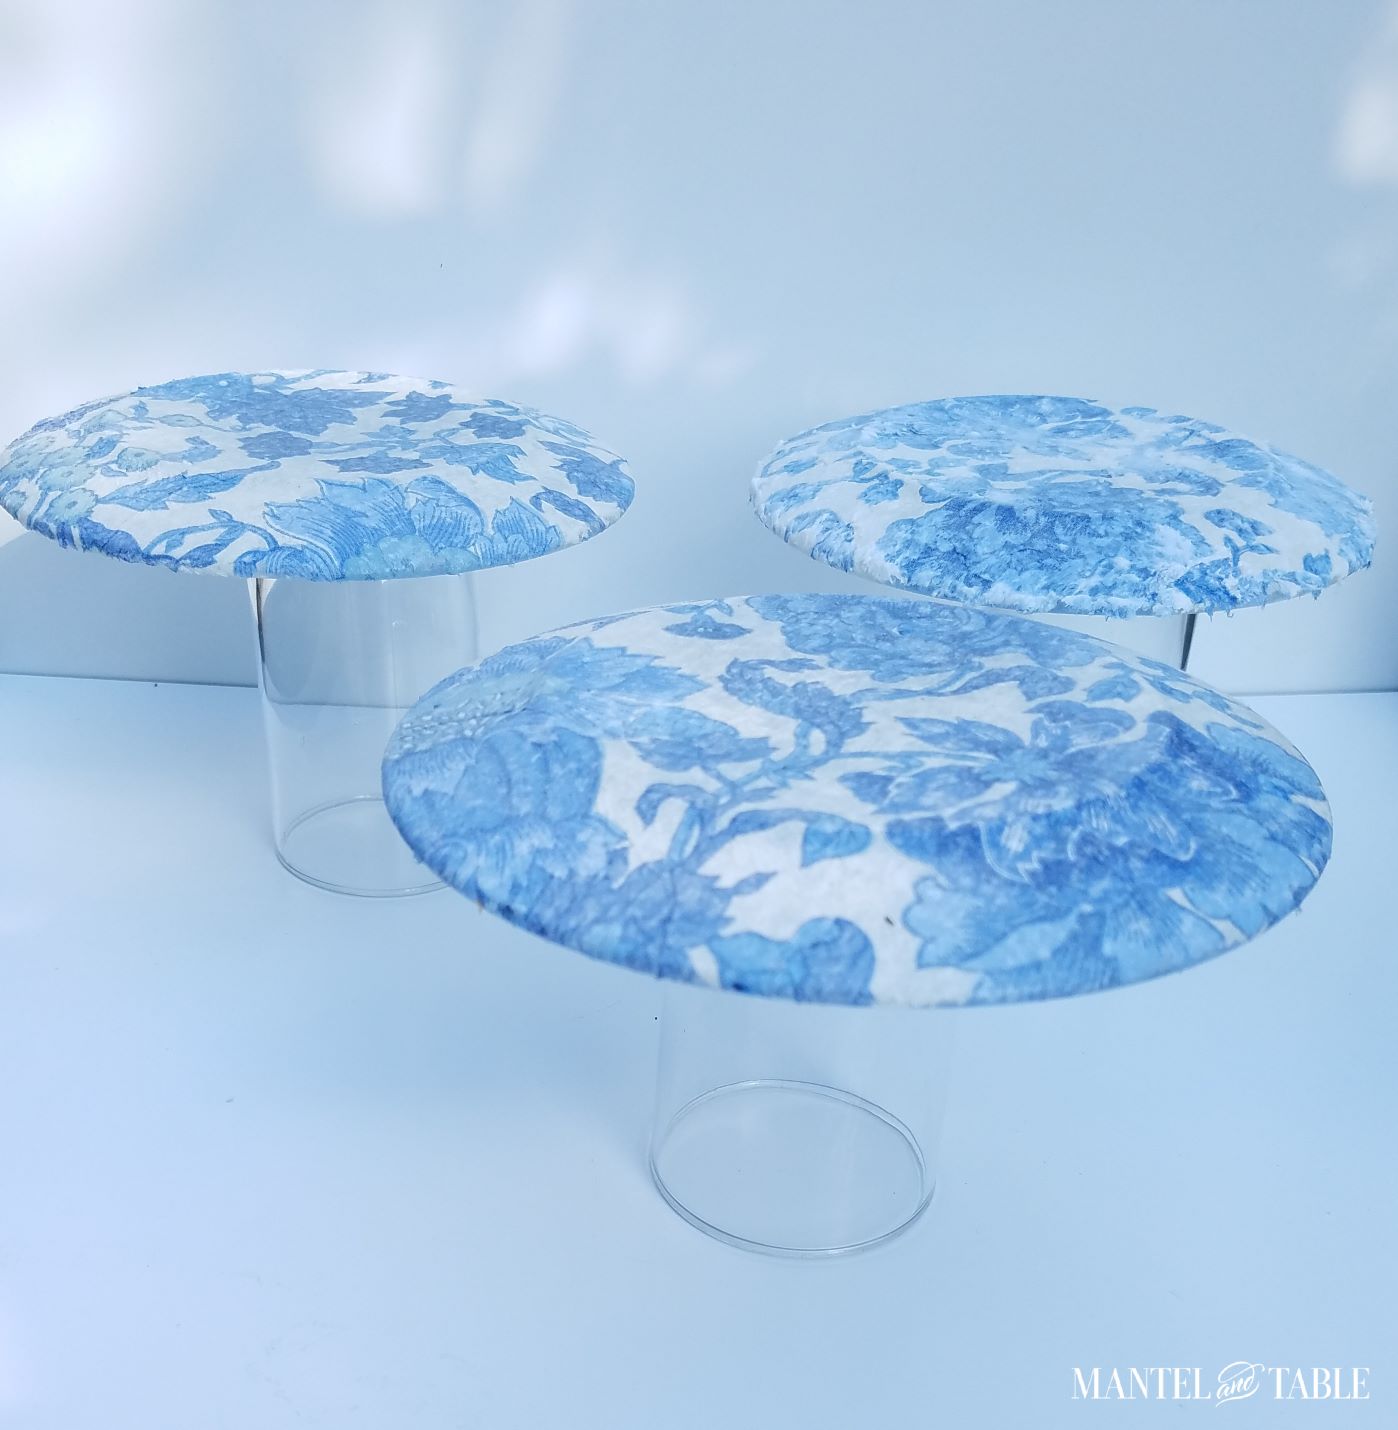
It was a sunny warm day, and it didn’t take too long for them to dry. I think I left them out there for a couple hours.
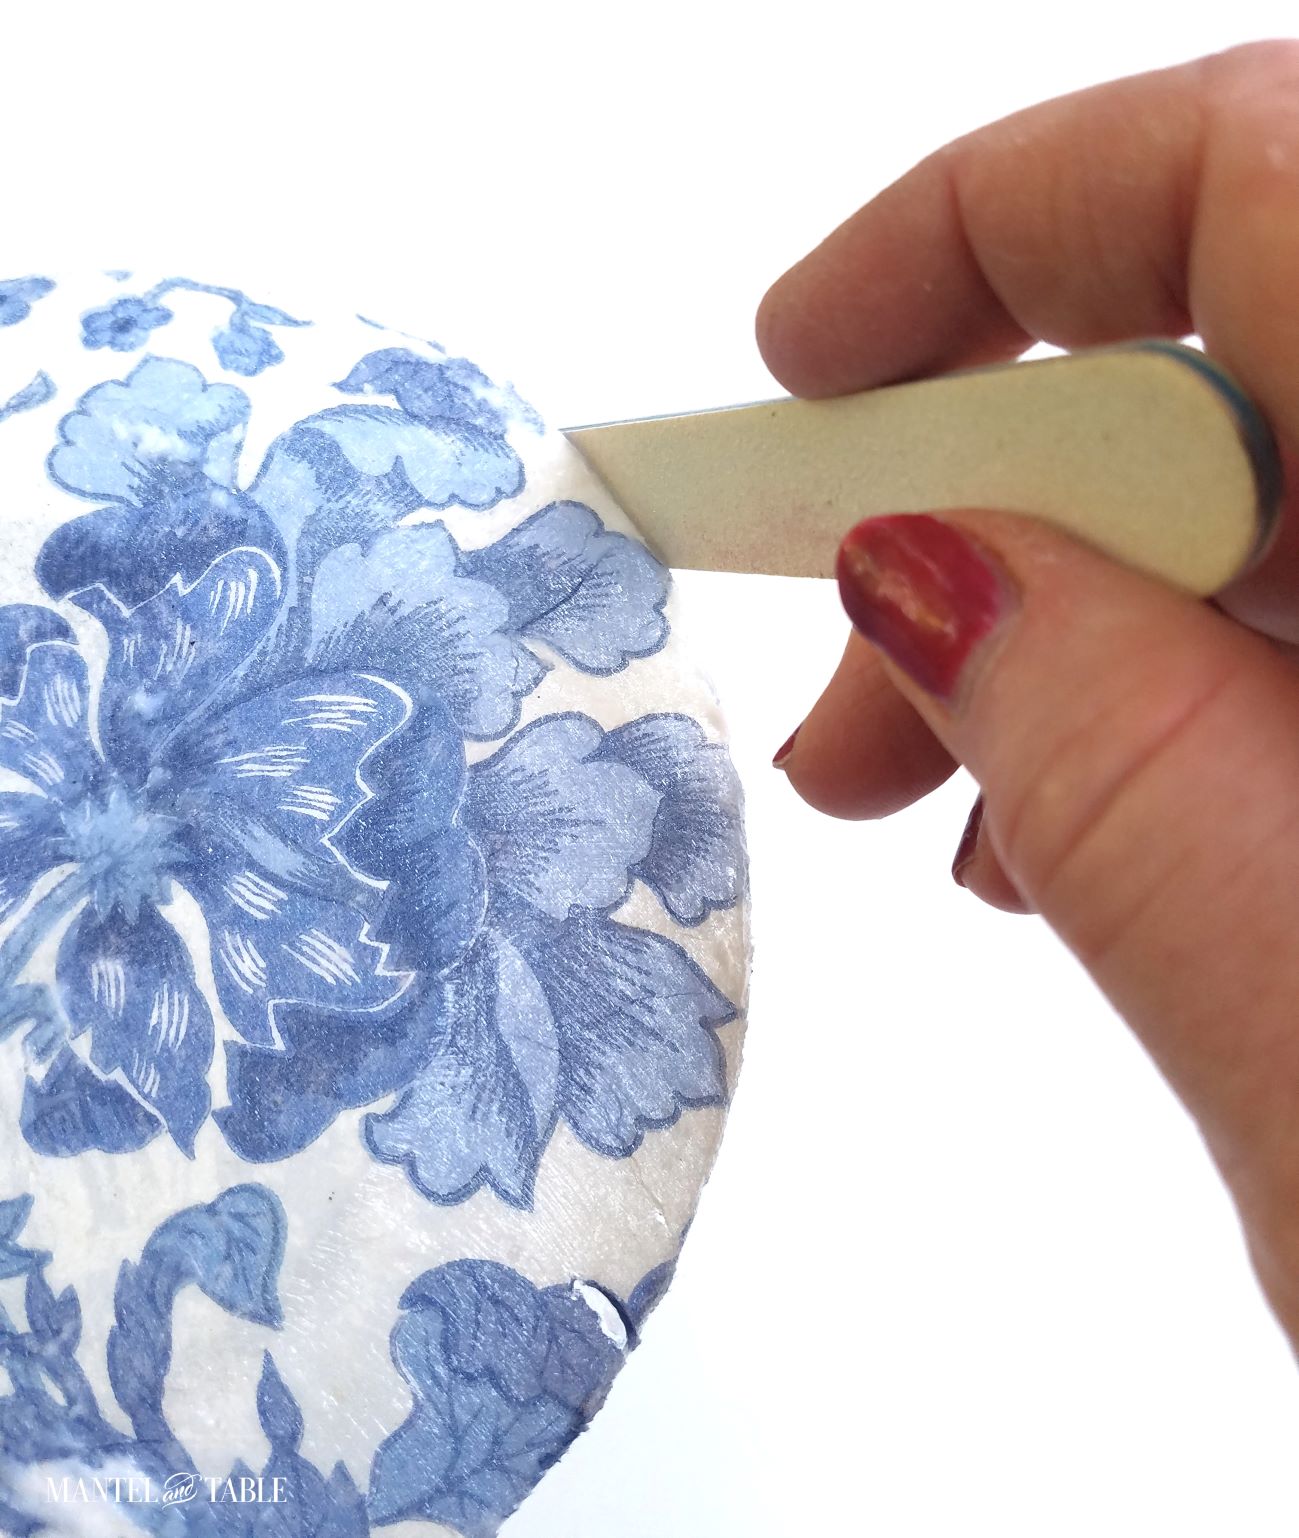
Step 7 ~ Smooth the Edges
See how the edge is kind of fuzzy where I tore the napkin away?
The napkin was all hard and dry after being out in the sun. So I just used a big emery board to smooth the sides, and any really lumpy places.
Be careful to go in a downward direction, so you don’t risk pulling the napkin back up.
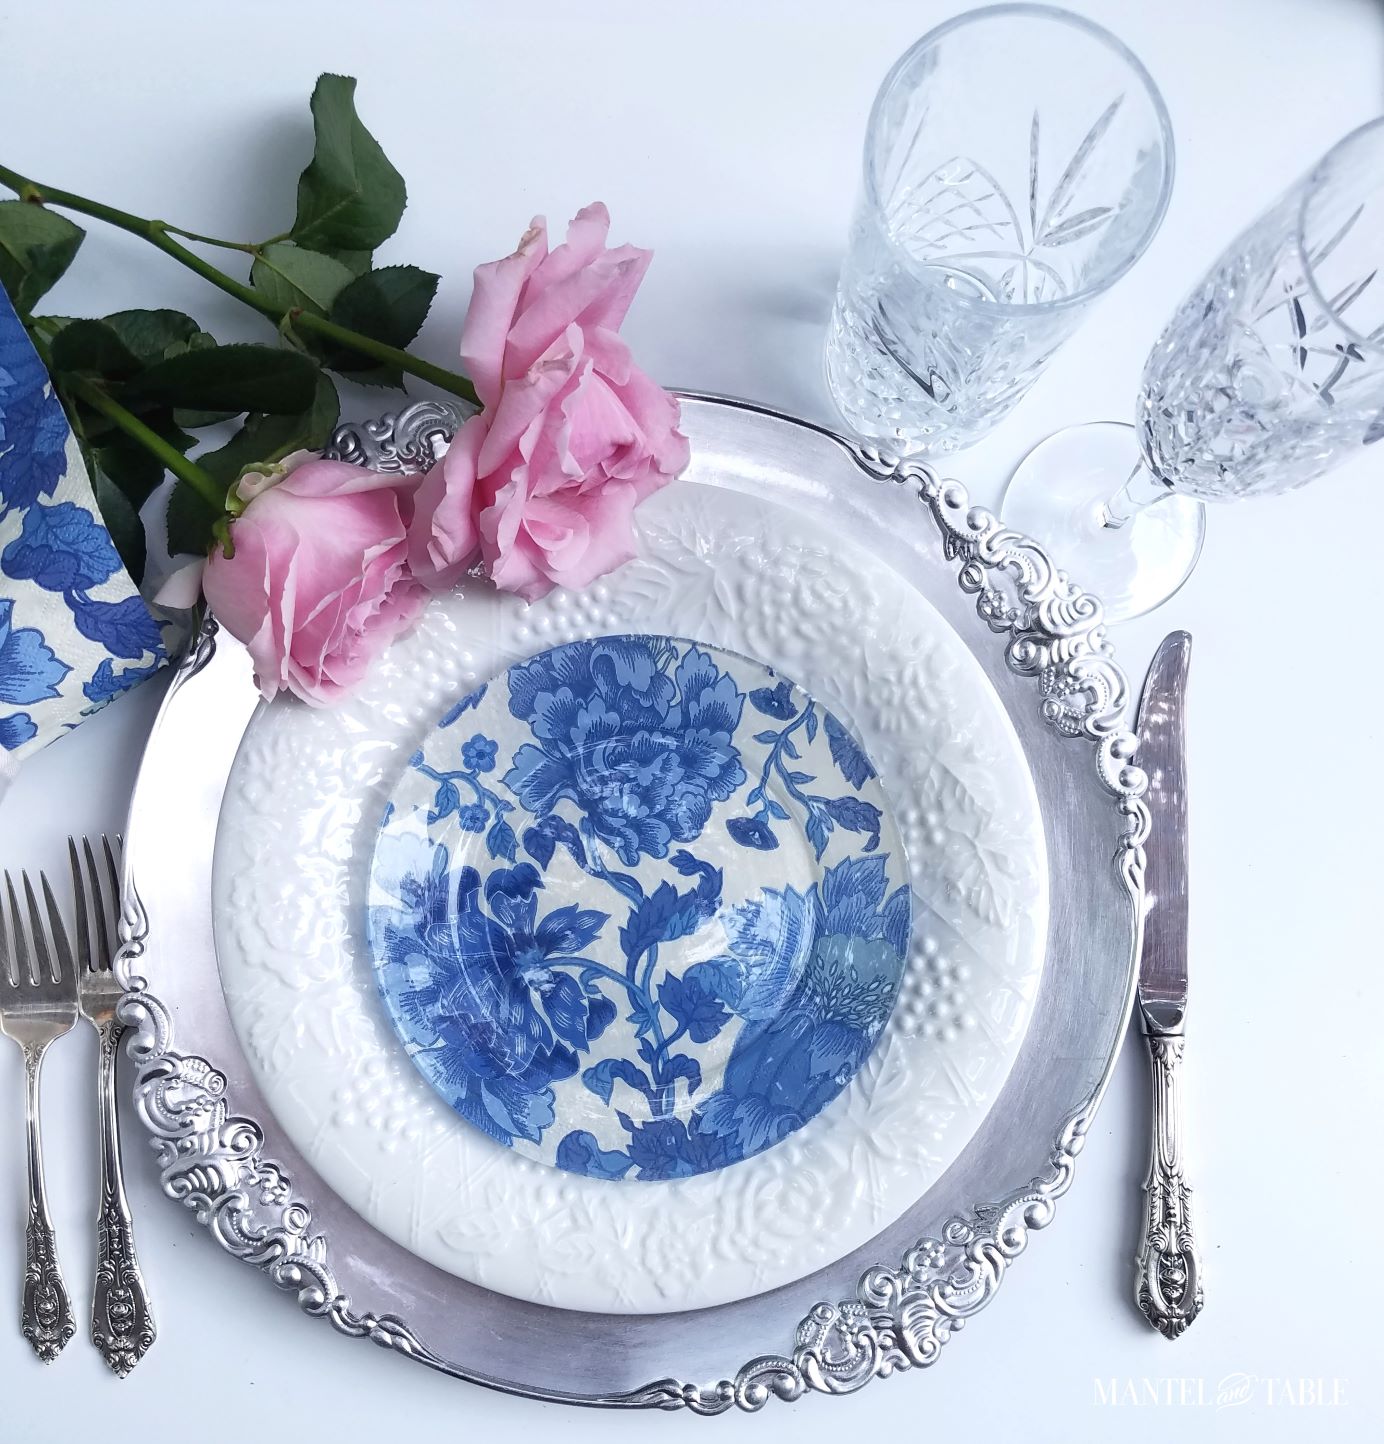
My Finished Blue & White DIY Plate!
And here’s the finished DIY plate! The edge smoothed out very nicely, I thought.
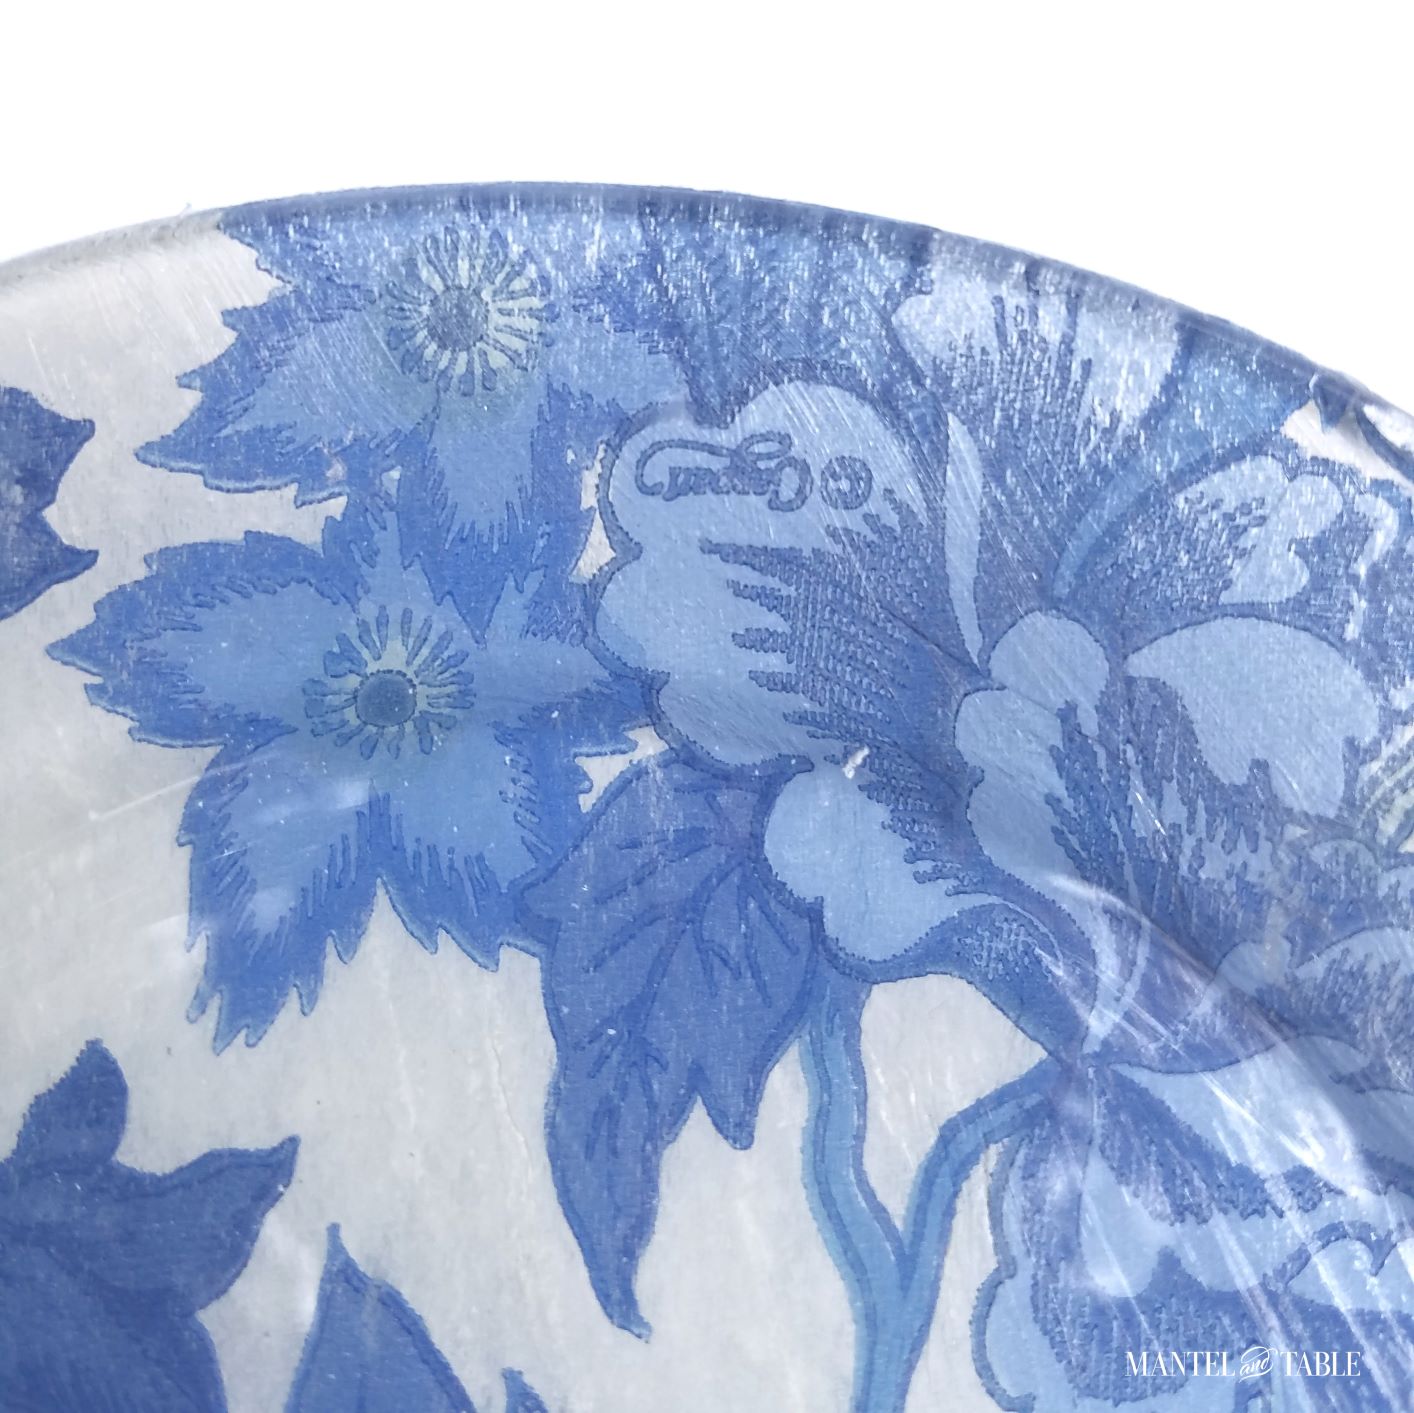
I wiped it down, and then it was ready for the table.
So there you have it! A very quick and easy solution to the “I don’t have the right plate” problem. In fact, it’s so easy that I might eventually use up all my party plates! I can see that I’ll snitch from my stash often. And I’ll be keeping my eyes open for more lovely paper napkins too!
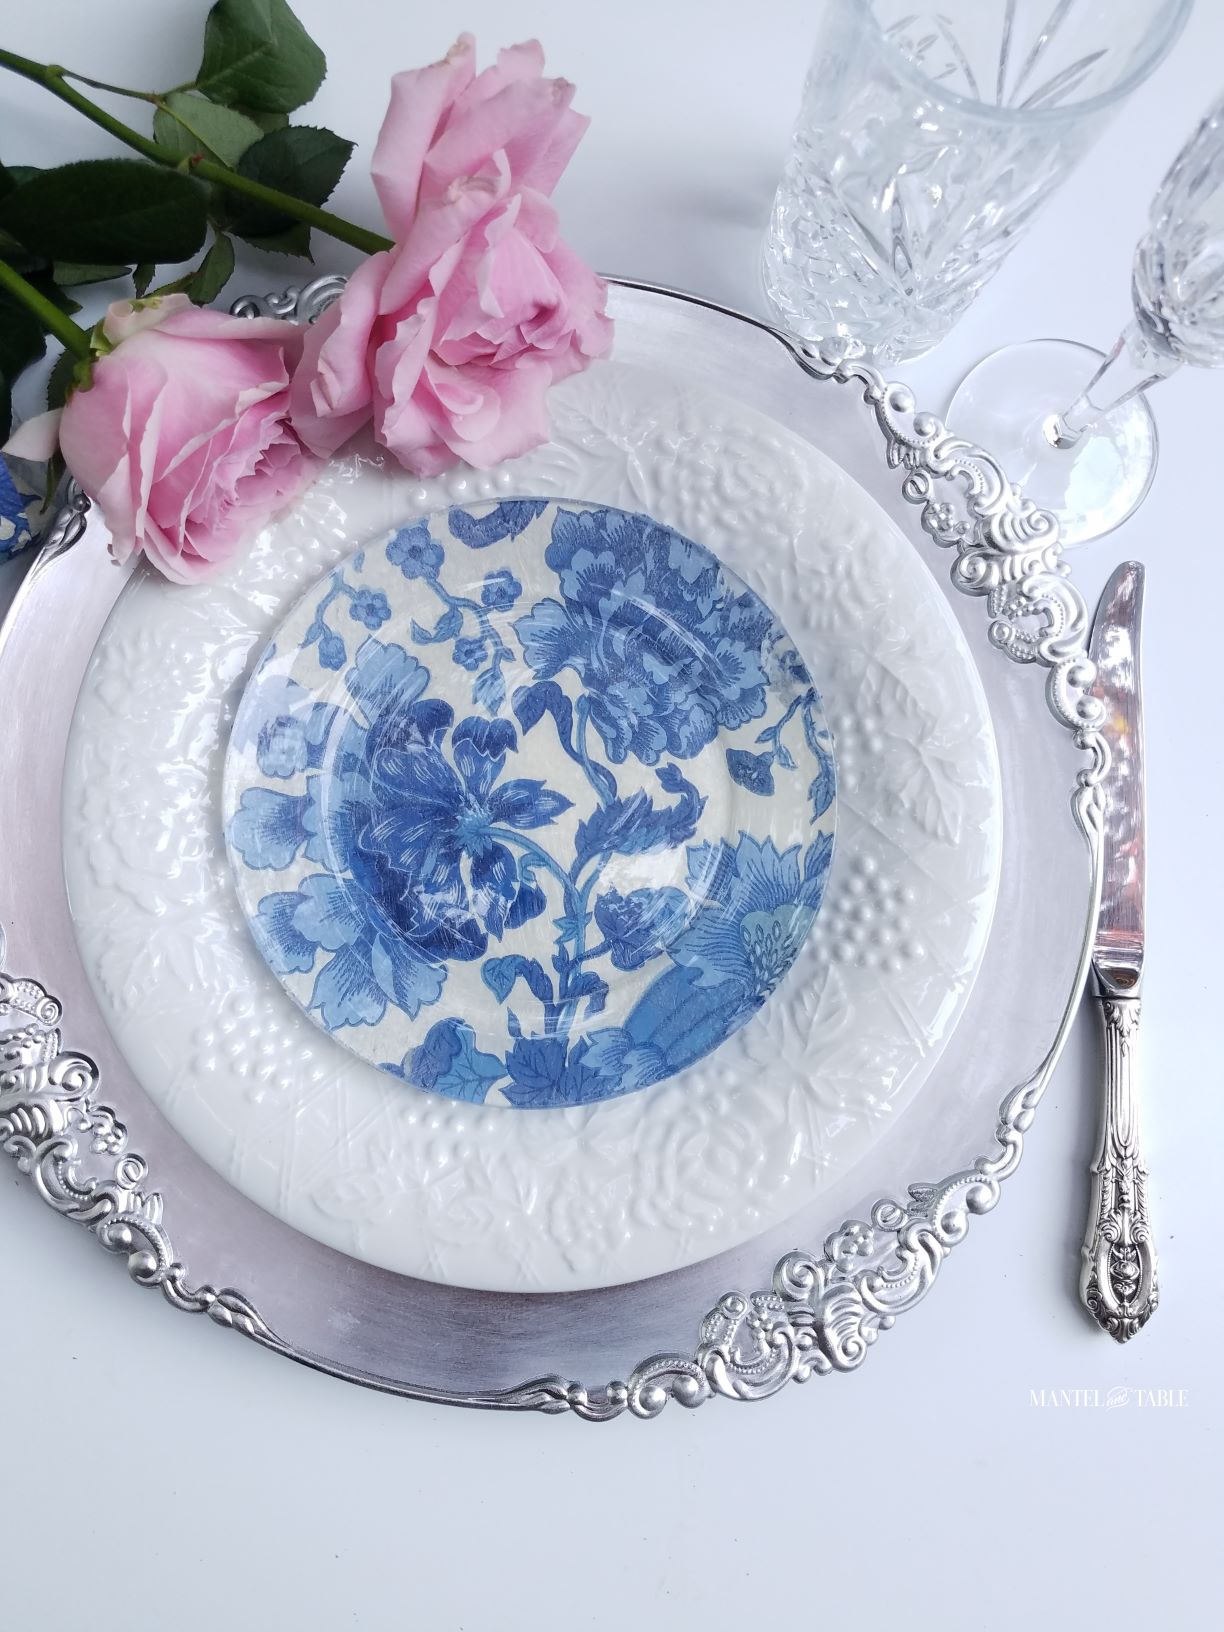
Setting A Table with My DIY Plate
To see the DIY plate in action, hop over to the blue and white table I set, out in our front yard. It was lovely if I do say so myself!
I expect my DIY plate skills to improve with experience and Diswasher-Safe Mod Podge! I hope you give this a try and let me know how it goes.
In the meantime, have a lovely day and thanks so much for joining me!

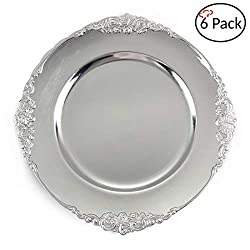
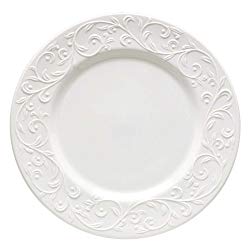
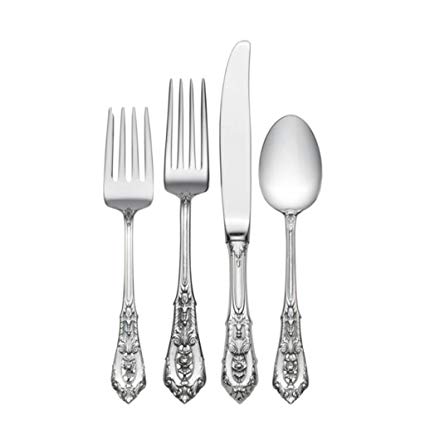
Shop the DIY Plate Post
Click on the pictures for links to pieces I used for this project. If the exact item isn’t available any more, I chose a similar option.
And remember, a portion of anything you buy from MANTELandTABLE.com goes to Habitat for Humanity and Proud Ground. With our purchases, we get to help people build homes for their own mantels and tables!

Pin The DIY Plate For Later


Barbara,
Just catching up through emails and I love your tutorial. Blue, white and pink are a winning combination. I think this question might be self-evident, but hand wash the plates, right? I’m wondering if the ModPodge protects the napkin from soapy water. Thanks for sharing! Another great post! I am just wondering if you could do the same thing but paint a stencil on the back side????? Since I have stencils and lots of blue and white paint.
Hi – Oooh – a blue and white stencil would be fabulous!! Especially if it ended up looking like your tiles! 🙂 And yes, I’d hand wash this batch. But there’s a dishwasher-safe Mod Podge that I’m going to get for next time. Woo!
For a first time, you did great.There is something so appealing about blue and white. I have made Mod Podge from white school glue and water to decorate a flower pot. A couple of years back Michael’s had those blue and white napkins on an end cap. Couldn’t tell you how many times I talked myself out of them until they were gone.
Wow – school glue and water – brilliant! I’m keeping that in my back pocket for any time I run out of Mod Podge! 🙂 I know – I’ve done the same thing, and then wished I had just gone ahead and bought the napkins. These blue and white ones were a gift, so I didn’t have any decisions to make. 😉 I’m so glad you popped over – Happy Friday!
That is so beautiful, and you photgraphed it beautifully as well! I just love that napkin pattern. Thanks for sharing it with us at Thursday Favorite Things.
You bet Pam – I love Thursday Favorite Things! It’s so great that you all have been hosting it every week for so long! ???? Thanks so much for stopping by! Happy Wednesday!
Just lovely, Barbara! Who knew decoupage would make such a comeback?!
Ha – I know! 🙂 I remember my grade school decoupage projects that involved cutting boards and cartoon elephant pictures, but now it can be so classy! Hope you’re having a lovely weekend! ????
Barbara, I love decoupage and this approach, adding the napkin to the bottom of the plate is one I’m going to try. Yes, the real Mod Podge would be much easier. Thanks for sharing at Tuesday Turn About.
Hi Carol! I can’t wait to try it again now that I have an idea what I’m doing! 🙂 I love your decoupage projects – I’m sure you’ll make some beautiful ones! ???? Thanks so much for stopping by and see you at Tuesday Turn About next week!
They make such pretty napkins — glad to know they make pretty plates! The perfectionist in me has a hard time doing DIY projects, lol.
Ha! I know exactly what you mean – I’m slowly learning to accept less than “perfect!” 🙂 Thanks so much for stopping by Sandra – hope you’re well over there! ????
I want to try this Barbara! What a great idea. I love the blue and white with your beautiful pink roses! Such a beautiful post my friend. Thank you for sharing with Charming Homes and Gardens.
You definitely should – it was so easy and fun! And pretty napkins are everywhere! 🙂
Such a clever idea! I would never have thought of it, thank you for sharing such great ideas Barbara.
Hi! I thought it was so fun too when I saw other people making things with napkins. I figured why not a plate? 🙂 I’ve been dreaming about your pool – it’s been so hot over here the last couple days! ???? Hope you’re staying cool out there!
They look amazing friend. Fantastic DIY and great tutorial. Thank you so much for sharing.
So glad you like it Chas! I haven’t done any DIY for so long, I thought I might have forgotten how! 🙂 Love your new photo btw! ???? Thanks so much for stopping by!
What a great project. I’m adding that modge podge to my cart right now.
Yaay – I can’t wait to try it! I’ll have to make some more plates just to see how it works! 😉 Have a lovely day out there my friend! ????
Those were undoubtedly some beautiful plates you created. The tutorial was definitely helpful. Enjoy your weekend!
Thanks so much Edmee! I had a wonderful weekend – I hope you did too! ????
This looks beautiful…I am inspired to try…and your table is so lovely. Thank you!
Jeanne – how wonderful to hear from you! I’m so glad you’re inspired – it was really a fun project! We’ll miss you in the group, but I can’t wait to see what you get up to next! ???? Take care!
Barbara, these plates are so pretty! Your tutorial is so helpful on creating these lovely plates. I have used fabric before, but I haven’t tried napkins. You have inspired me to give it a try. There are so many pretty napkins out there especially at Tuesday Morning, Thanks again for the mention…you are too kind! Enjoy your weekend, dear friend!
This whole idea wouldn’t have happened without you Shannon! You’re such a wonderful inspiration! 🙂 I’m so glad you like it – I can’t wait to try more. Maybe I’ll head down to Tuesday Morning sometime soon! Hope you have a lovely weekend too my friend! ???? Thanks for stopping by!